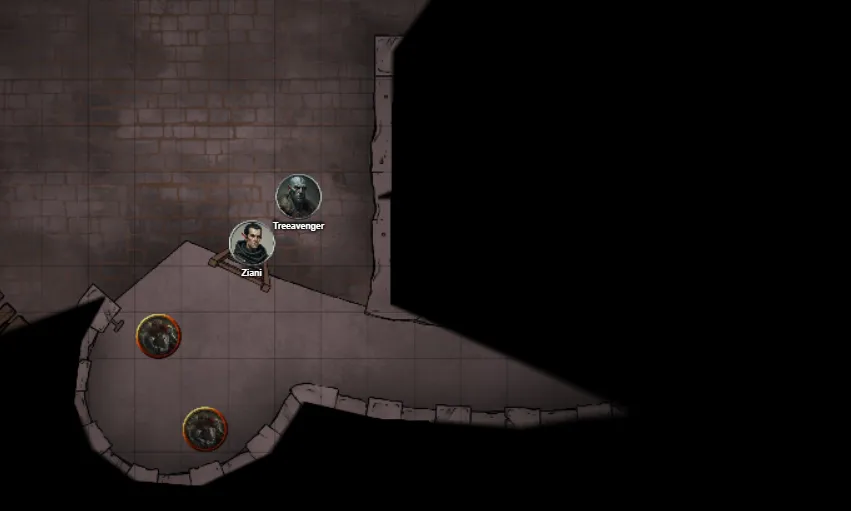
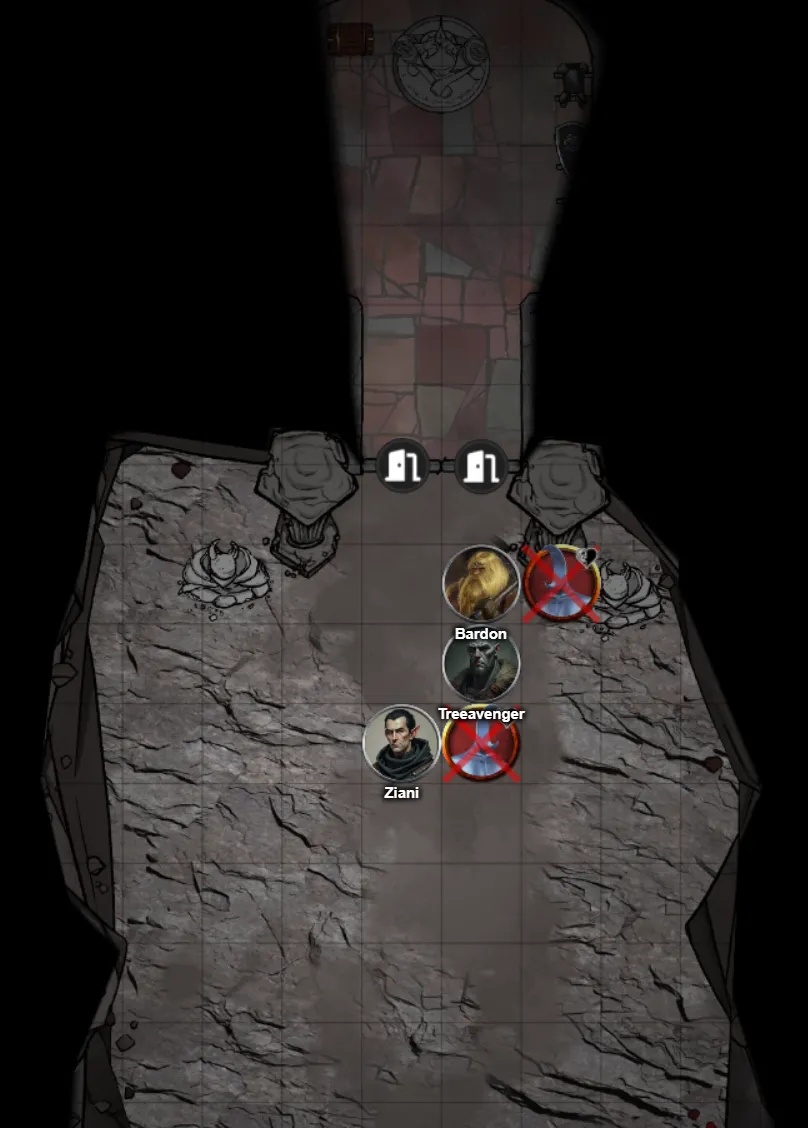
We continue up to the top of the stairs from where we fought the desiccated priest.
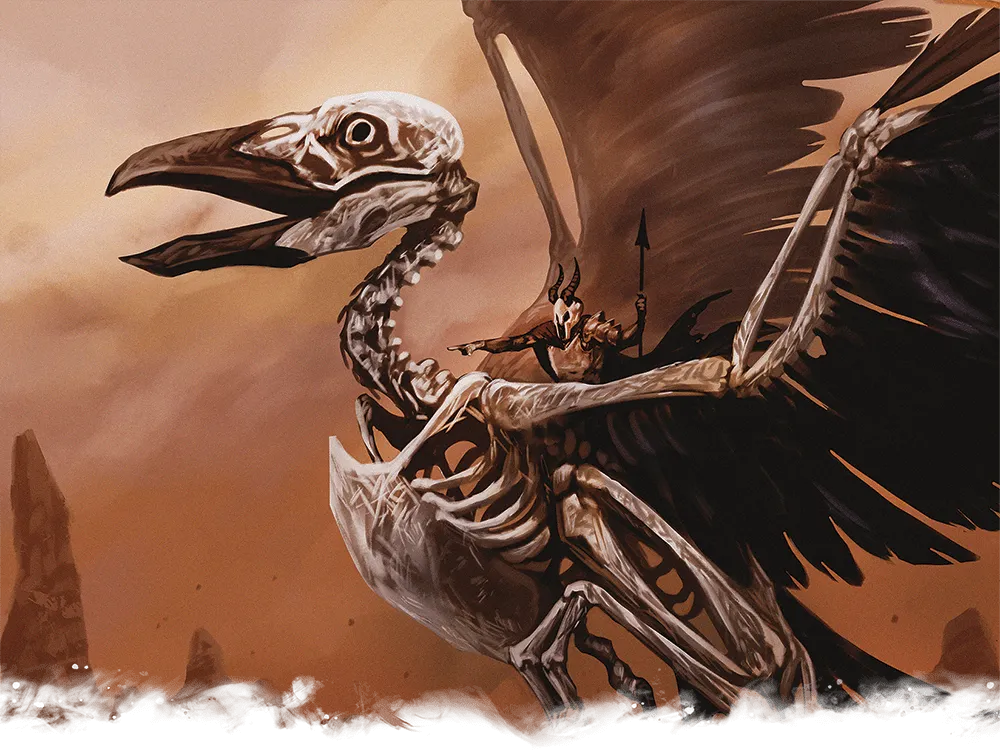
I notice a hidden wall behind the alter and poke out into a courtyard of sorts, with large skeletal birds and a ladder leading up to some more creatures.

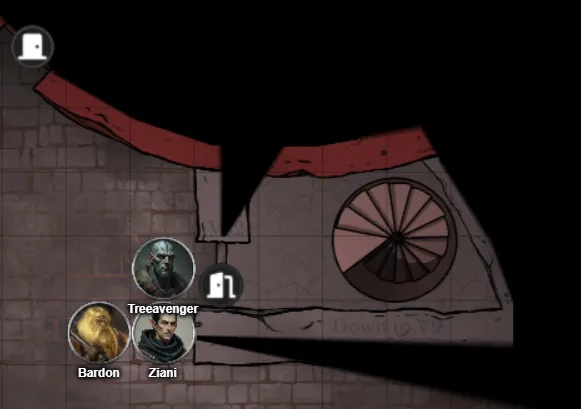
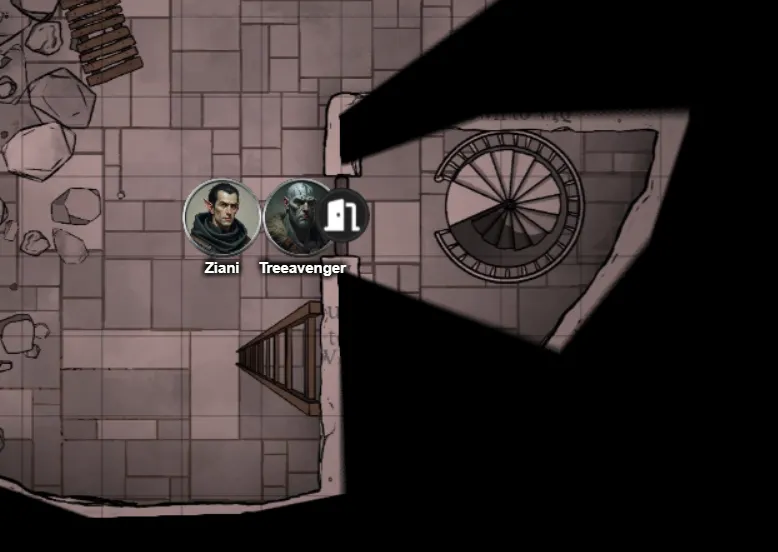
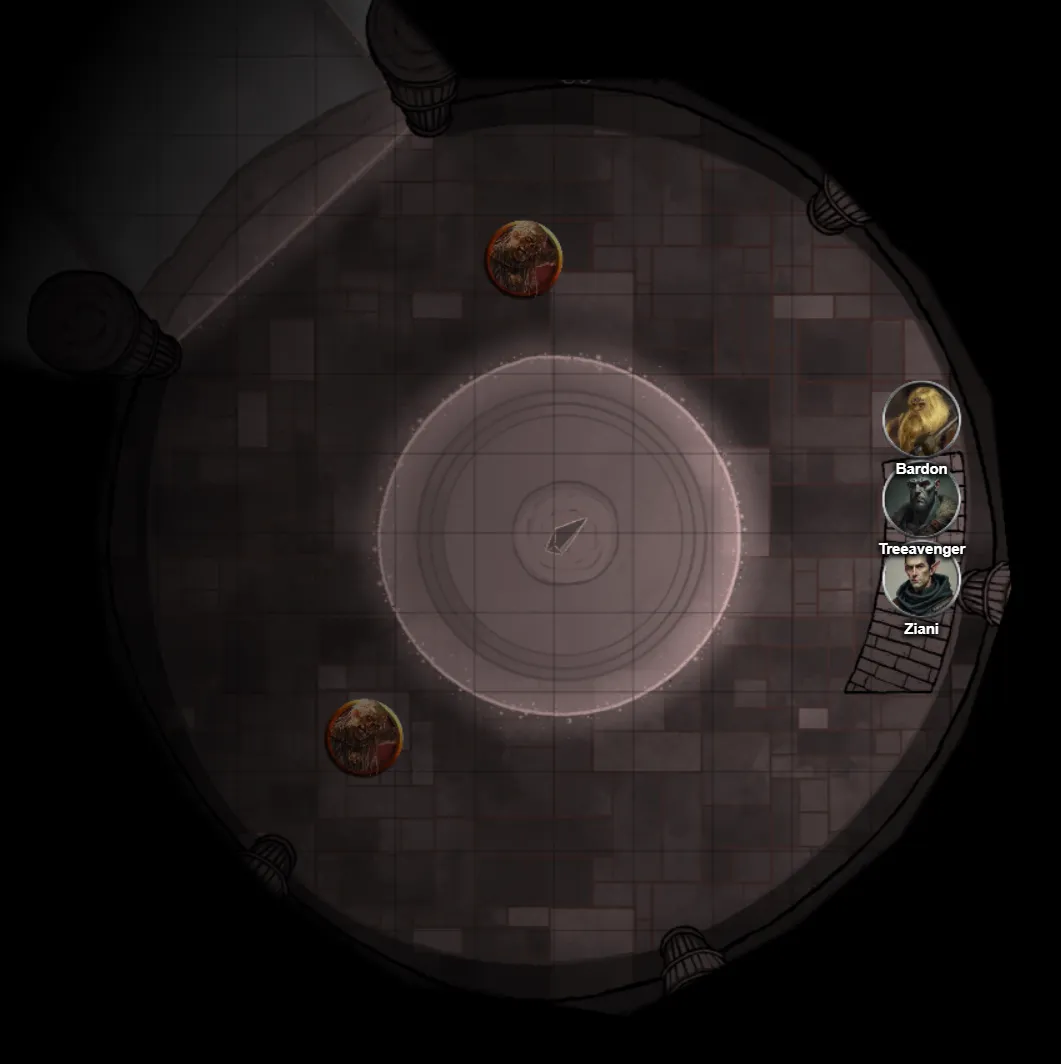
We decide to not go through it and instead through the main door ahead of us… I double check the door before picking it open… to find just a circular hall with curtains and chanting coming from inside.
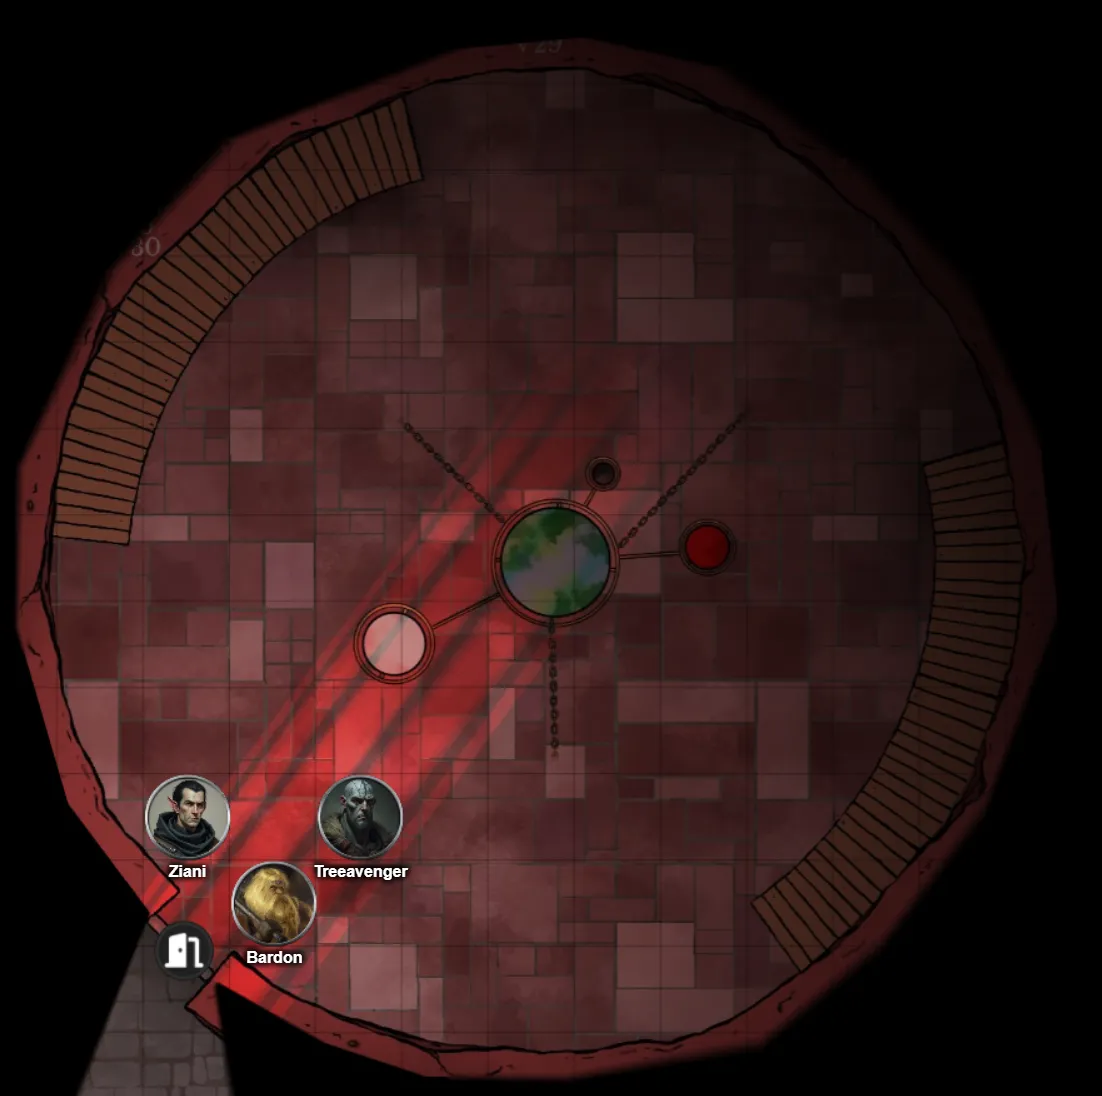
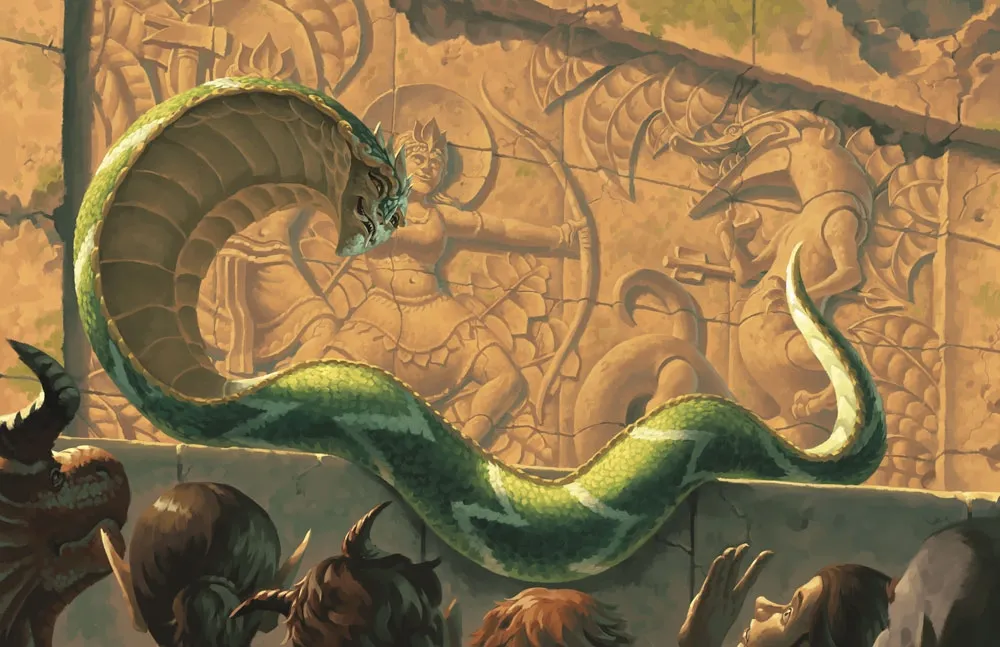
We do a little circle around before I poke my head behind the curtain to see what is in the center of the tower. Finding some kind of necromancer with another desiccated priest.
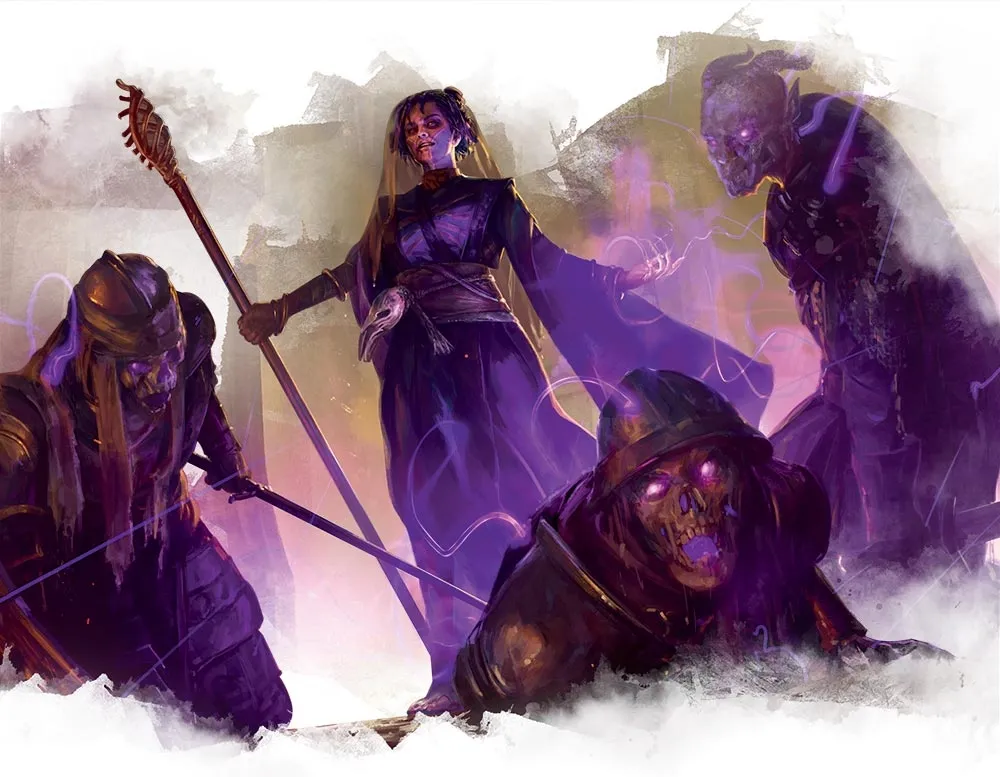
We pretty easily take them out, though I take a hail of attacks in the initial wave.
We notice that there is a glass bedroom about 20 feet above us, with a black mirror on the wall.
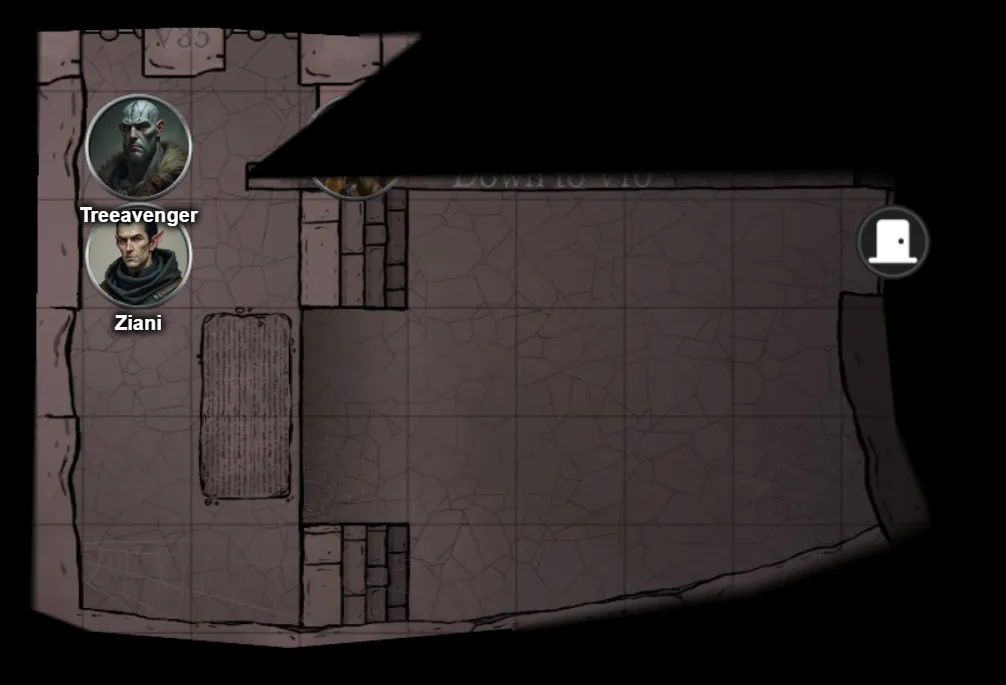
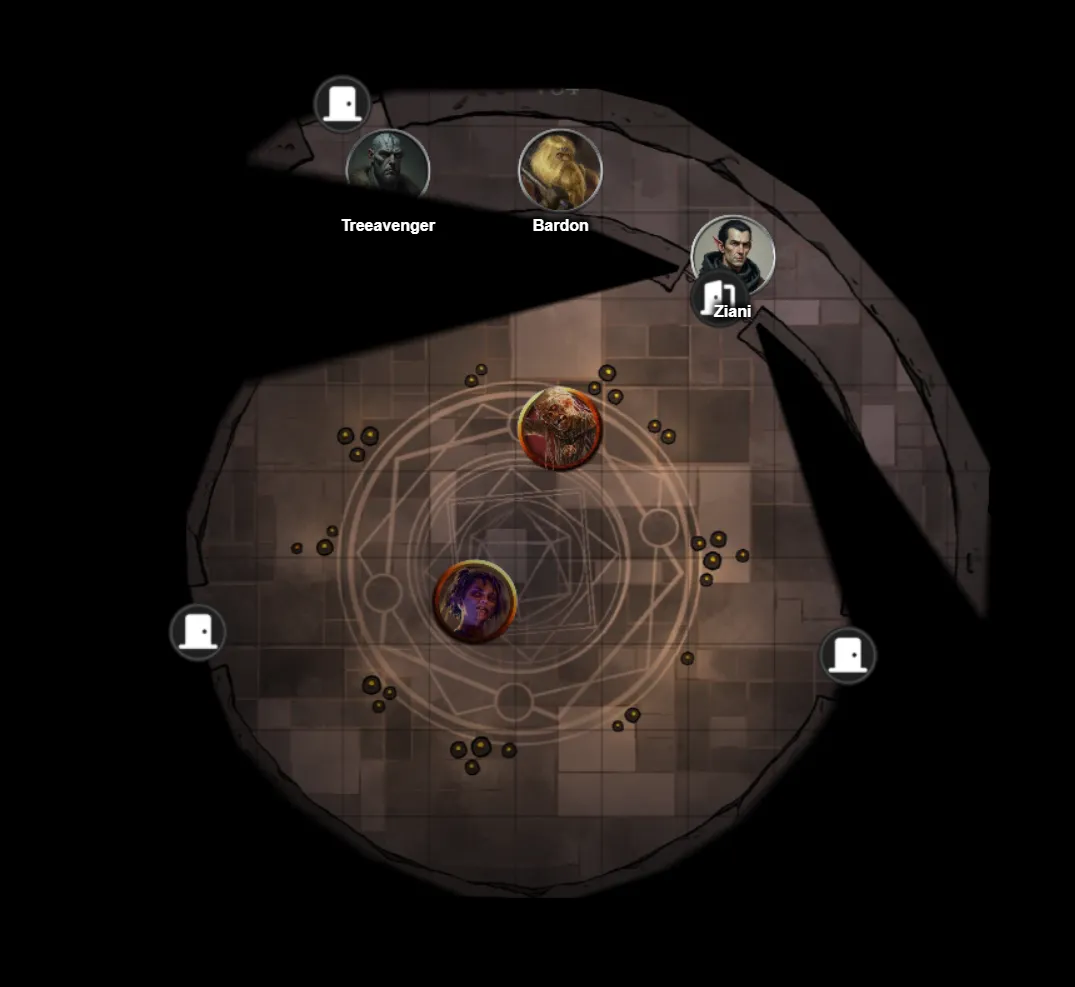
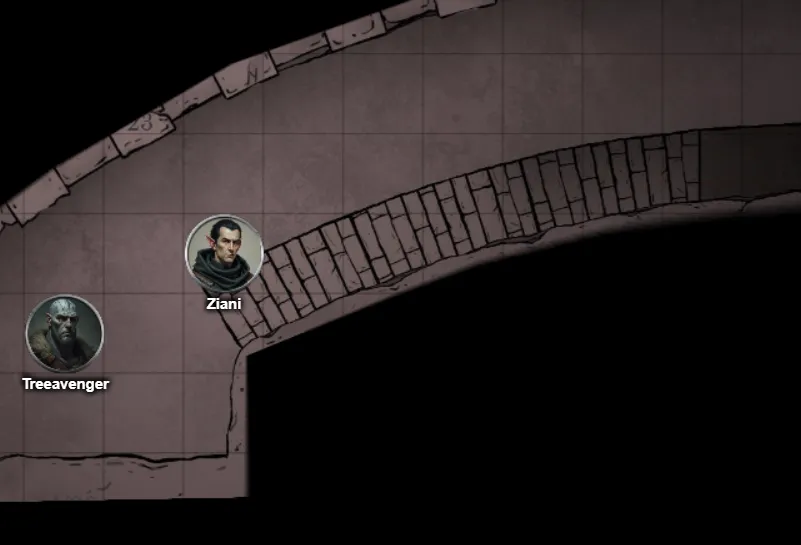
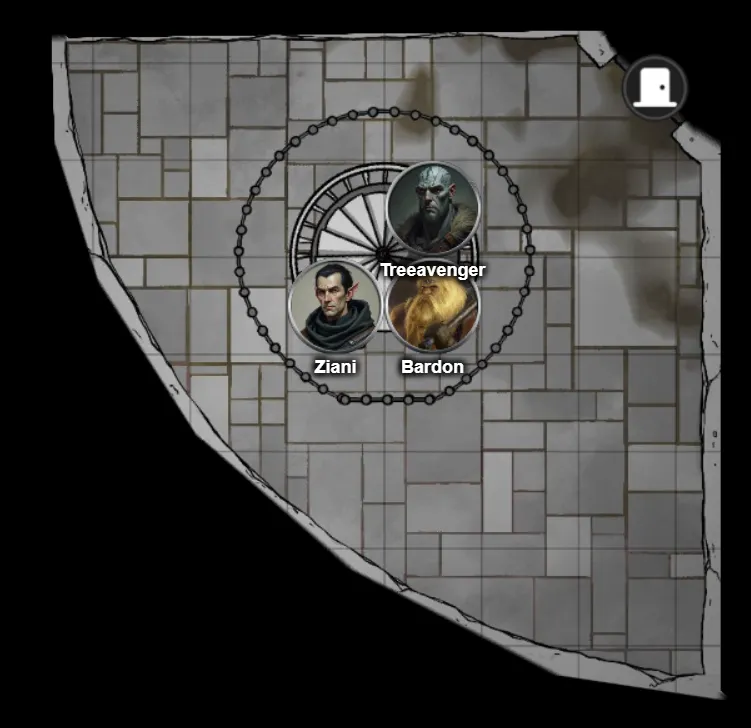
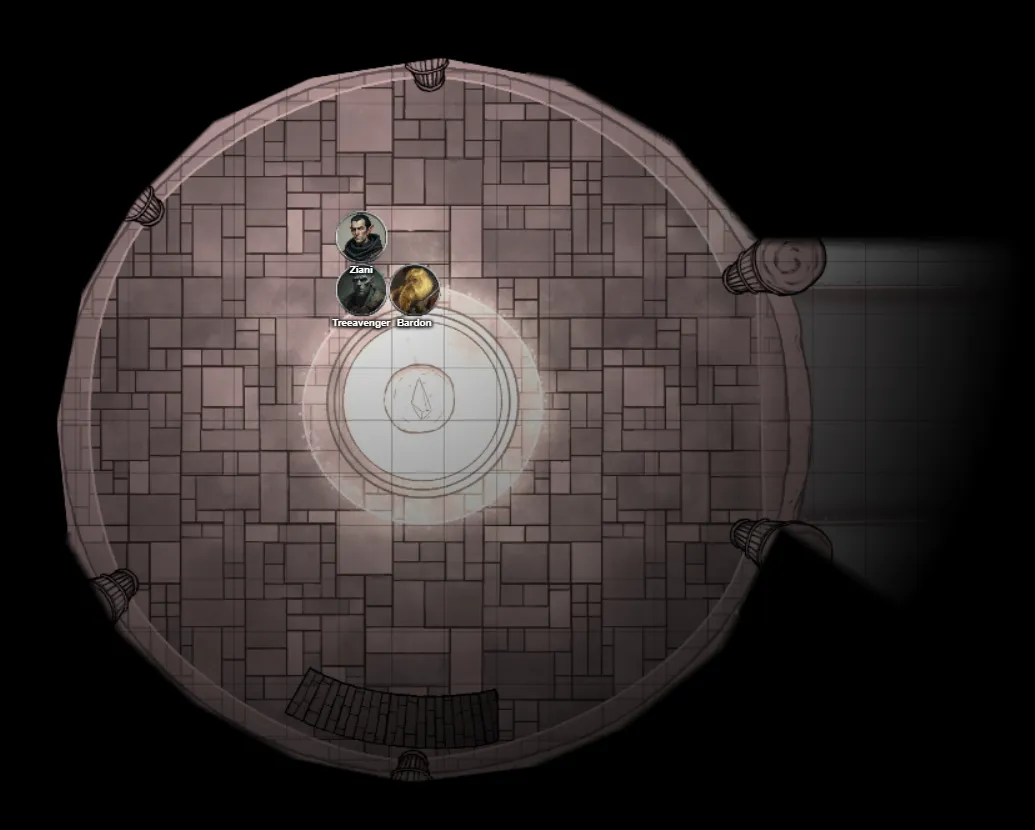
We go to check the other door and find the courtyard again. A red tower North of us, a White tower North East of us, and we are currently inside a Black tower.
Treeavenger hopes up on top of the ramparts on our right to go around and try and find the bed chamber with the black mirror.
He apparently broke the chains and shattered the mirror as it crashed to room below.
We head up towards the Red Tower.
A nearby wooden door leads to a spiral staircase downwards.
And we head into the Red Tower:
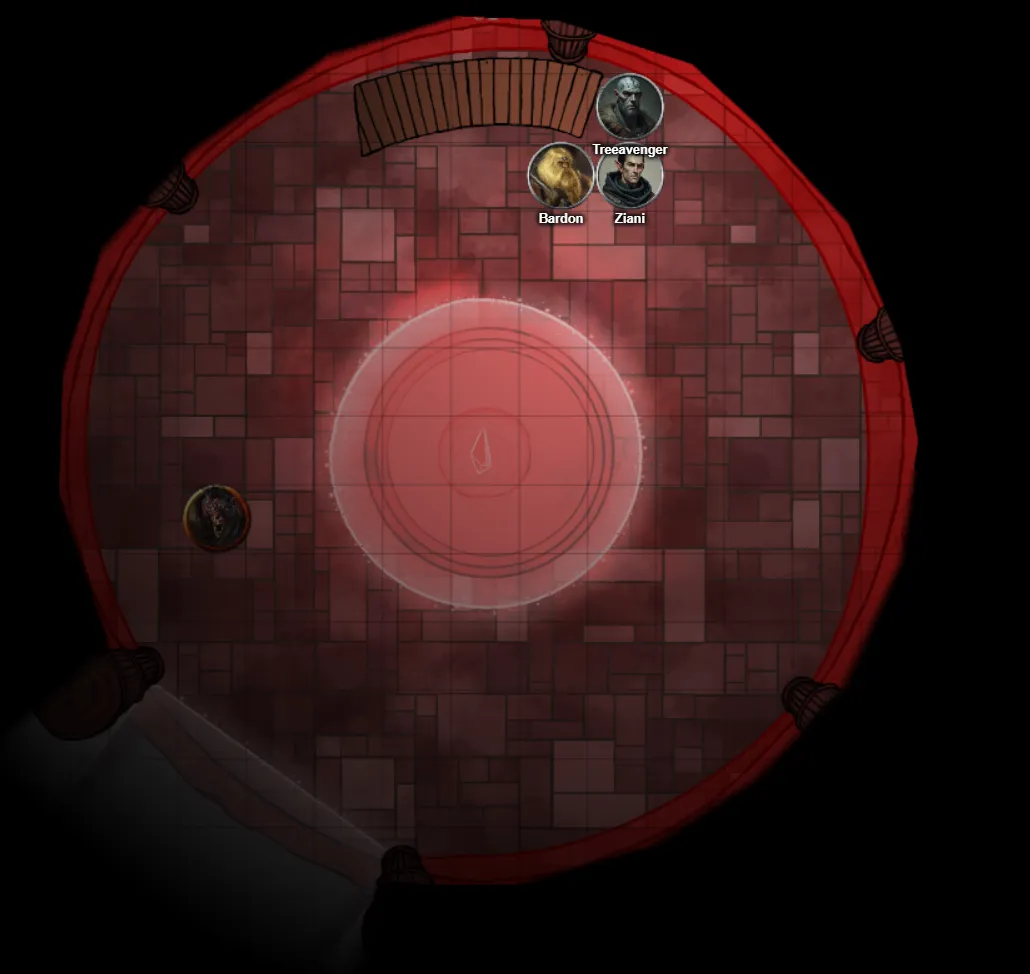
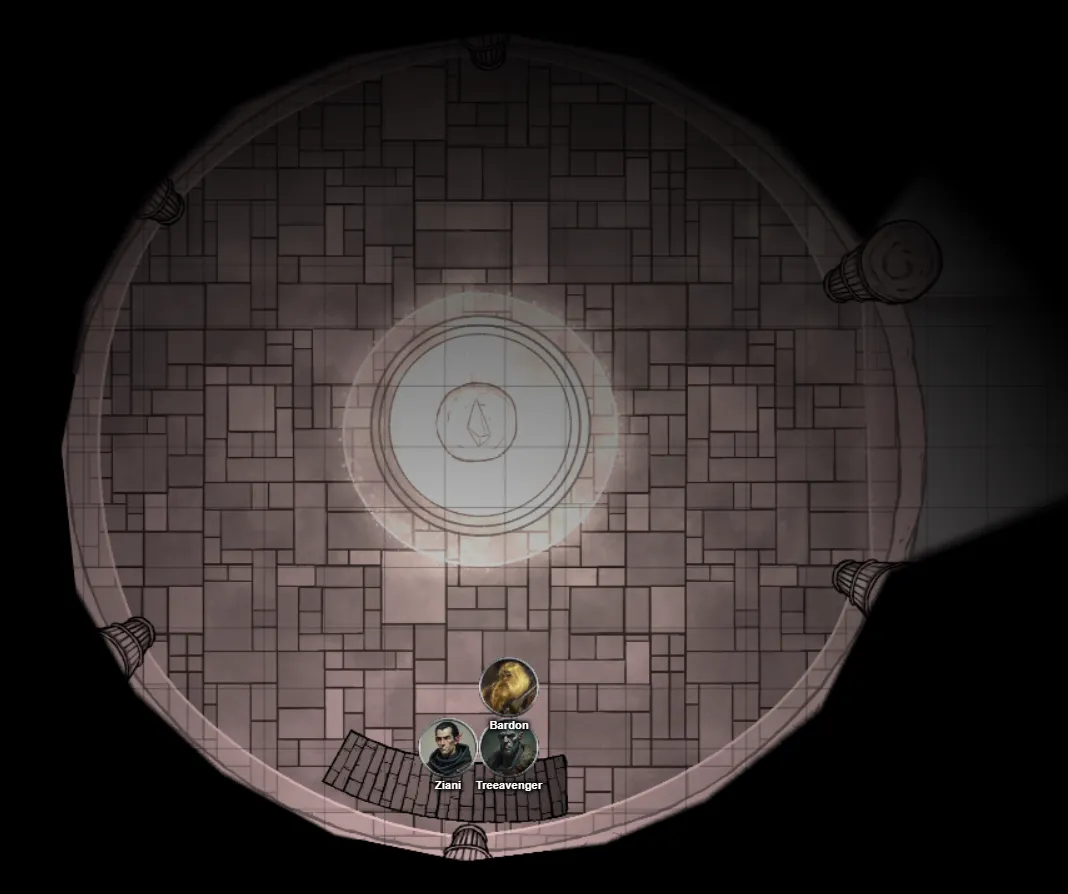
A large model of a planet and three moons hangs in the center of this high-ceilinged chamber. The celestial bodies are affixed to bronze rings via delicate rods that move slowly under their own momentum. The device is illuminated by a beam of red moonlight that emanates from a mirror mounted twenty feet up the southwest wall. Twin staircases ascend to a railed walkway overlooking the orrery.
I climb up and remove the Red Mirror from the wall. The orrery in the center stops moving and the mirror continues to emanate the red moon light.
The stairs continue upwards to a bedroom containing an empty footlocker, a bed, and a writing desk.
We check the desk for notes which contains logs of any prisoners who have been moved through the area, including supposedly Darrett Highwater.
It mentions 6 mirrors in the area, 2 of each color: White Mirrors: The lunar shrine and the ruined shrine Red Mirrors: Valendar’s cell and the red mirror stairwell Black Mirrors: Royal quarters and Akaazi’s quarters
And makes note of a piece of the Rod of Seven Parts being taken by some ‘ungrateful Dryad’. And seized 3 lunar crystals from a Lunar Dragon.
We head further up.
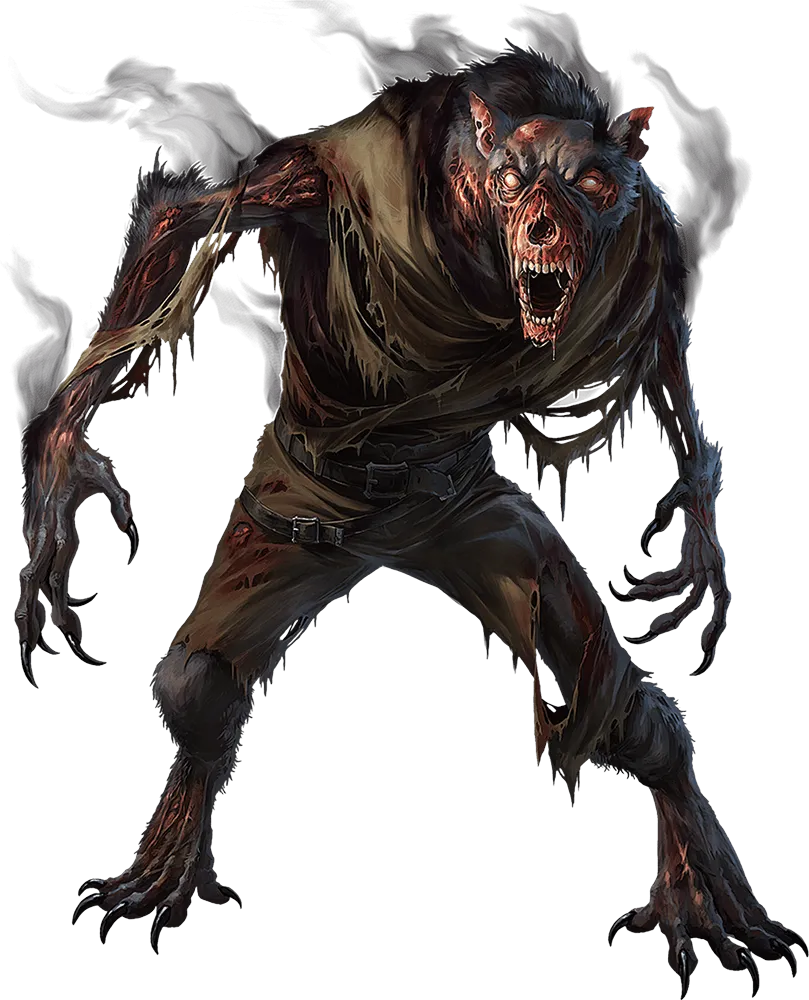
Combat ensues as a corrupted werewolf lunges towards us.
Off a ways, we can see Teremini doing the ritual in an area off ahead blocked by solid moonlight.
With some difficulty we finish off the Death Wolf
Recite
Break Time
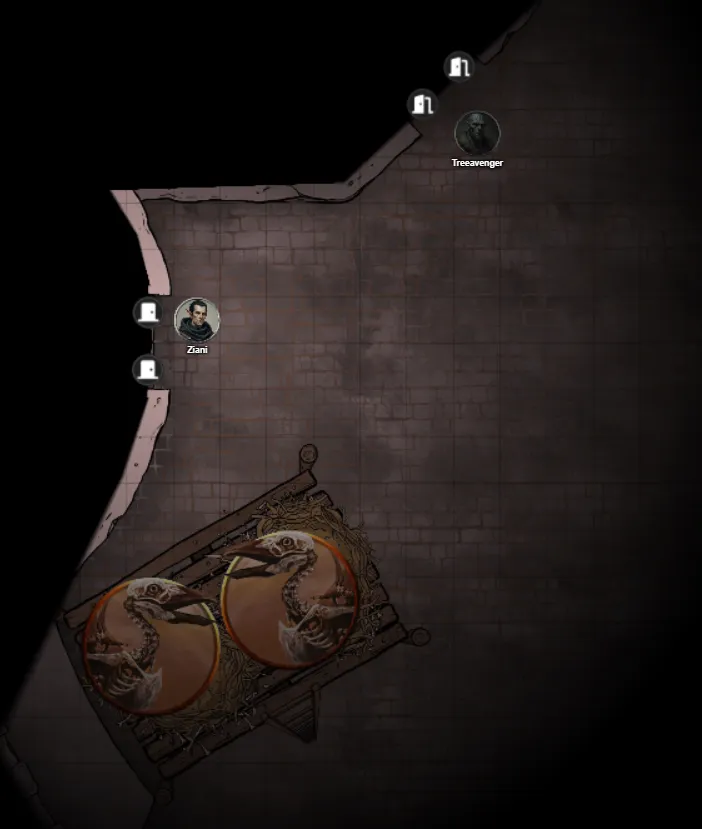
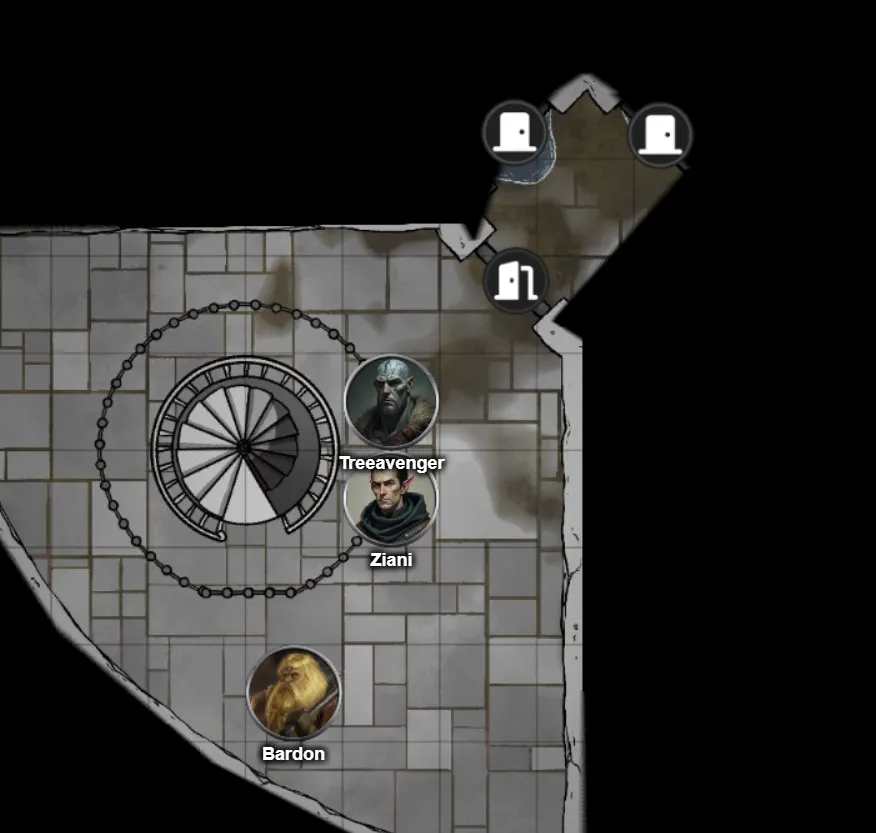
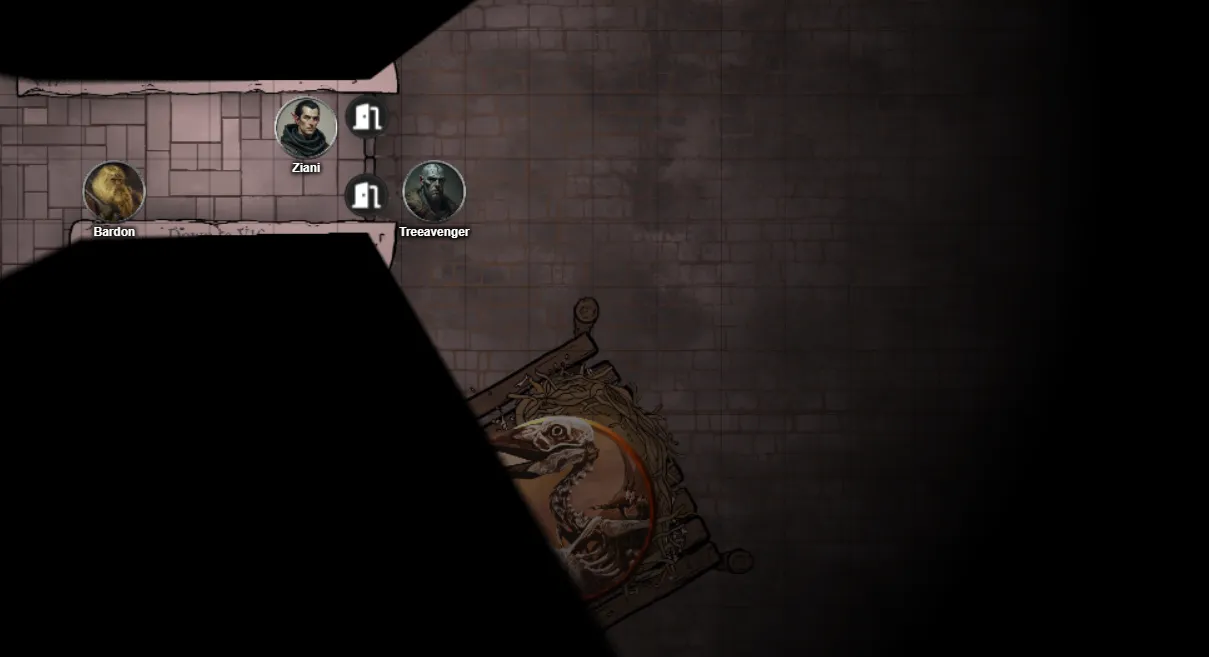
We head back down to the Orrery room. …and out to the courtyard
We check the near door and it leads to an armory of sorts.
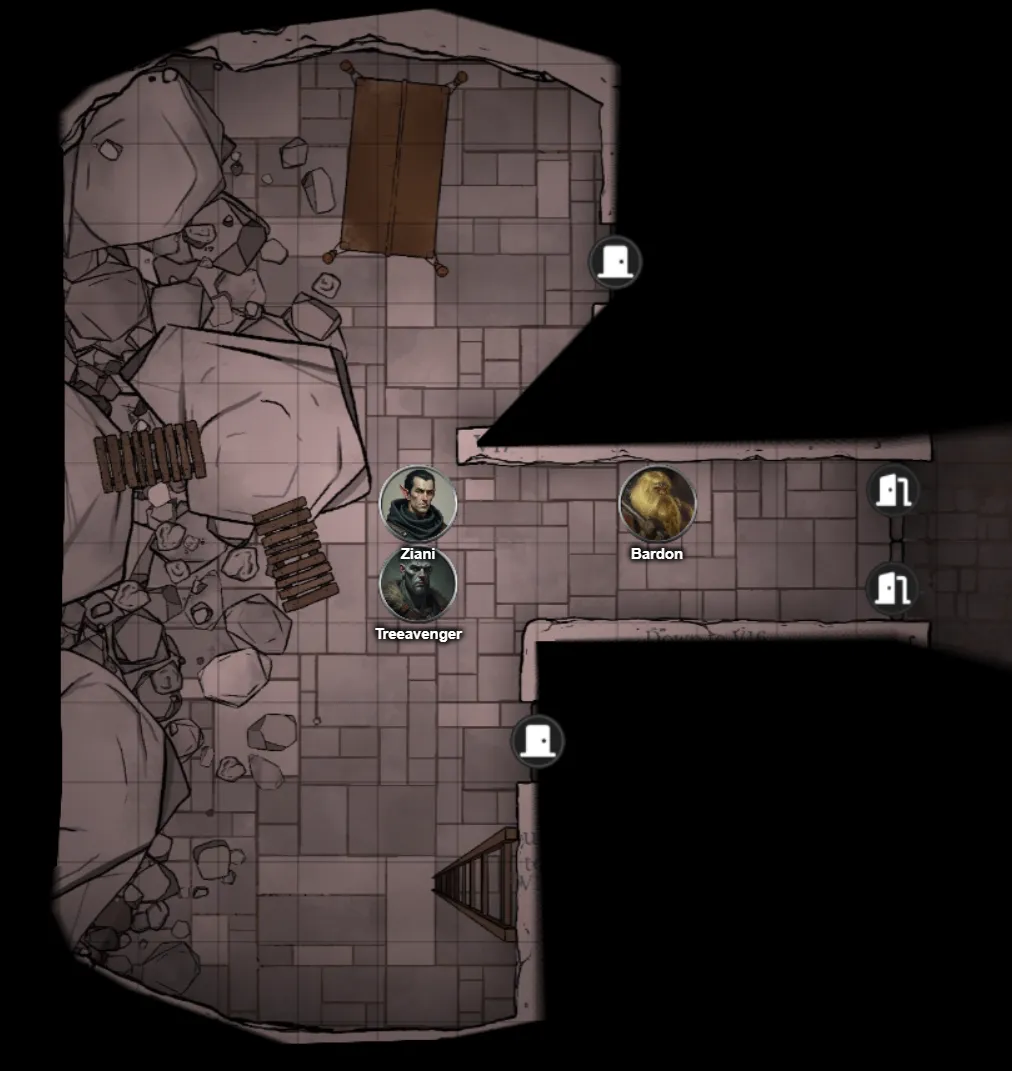
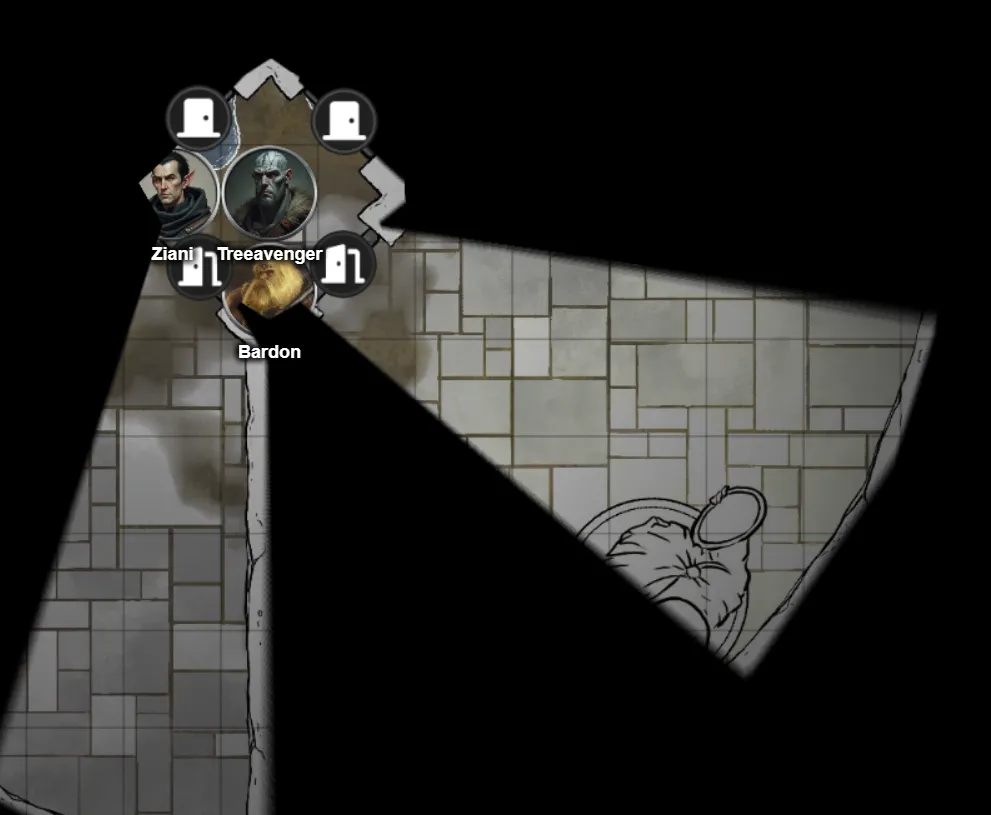
We double back and take the rampart stairs up behind the armory.

And find another door to the white tower.
A grim iron throne and an iron statue of an intimidating knight stand in the middle of this room. Both look out a window at the courtyard to the southeast. Fastened to the throne’s headrest is a mirror that seems to draw light in rather than reflect it.
We collect the Black Mirror from it, though it leads no where else. Then head back to the armory to get into the white tower proper by sneaking past some birds.
We check the door just North of us to find… seemingly nothing.
And the south door that spirals down.
The ladder up leads to a watch tower and then even further up, likely to another tower room like before.
We find ourselves stuck behind a arcanely locked gate at the bottom of the stairs.
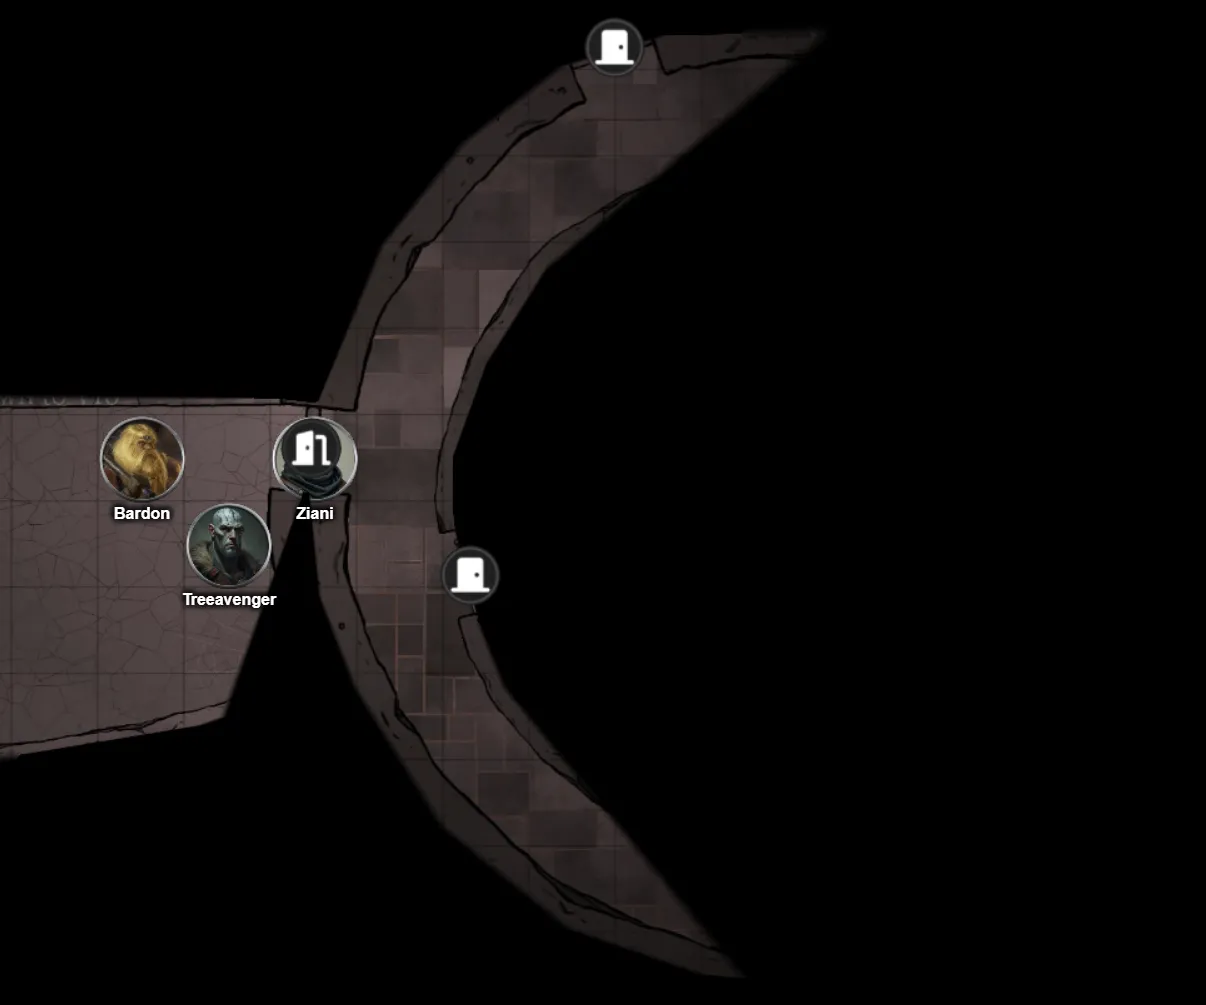
Bardon manages to dispel the magic on the gate, and we get through. Finding a small area with 3 more doors.
We open the South West door to find an alabaster statue and a strange faced naga. It calls itself Casivus, a guardian naga, and tells us to check the Orrery to find the correct way to shine the mirrors. And the passphrase, that we may no longer need, is “buried is best”
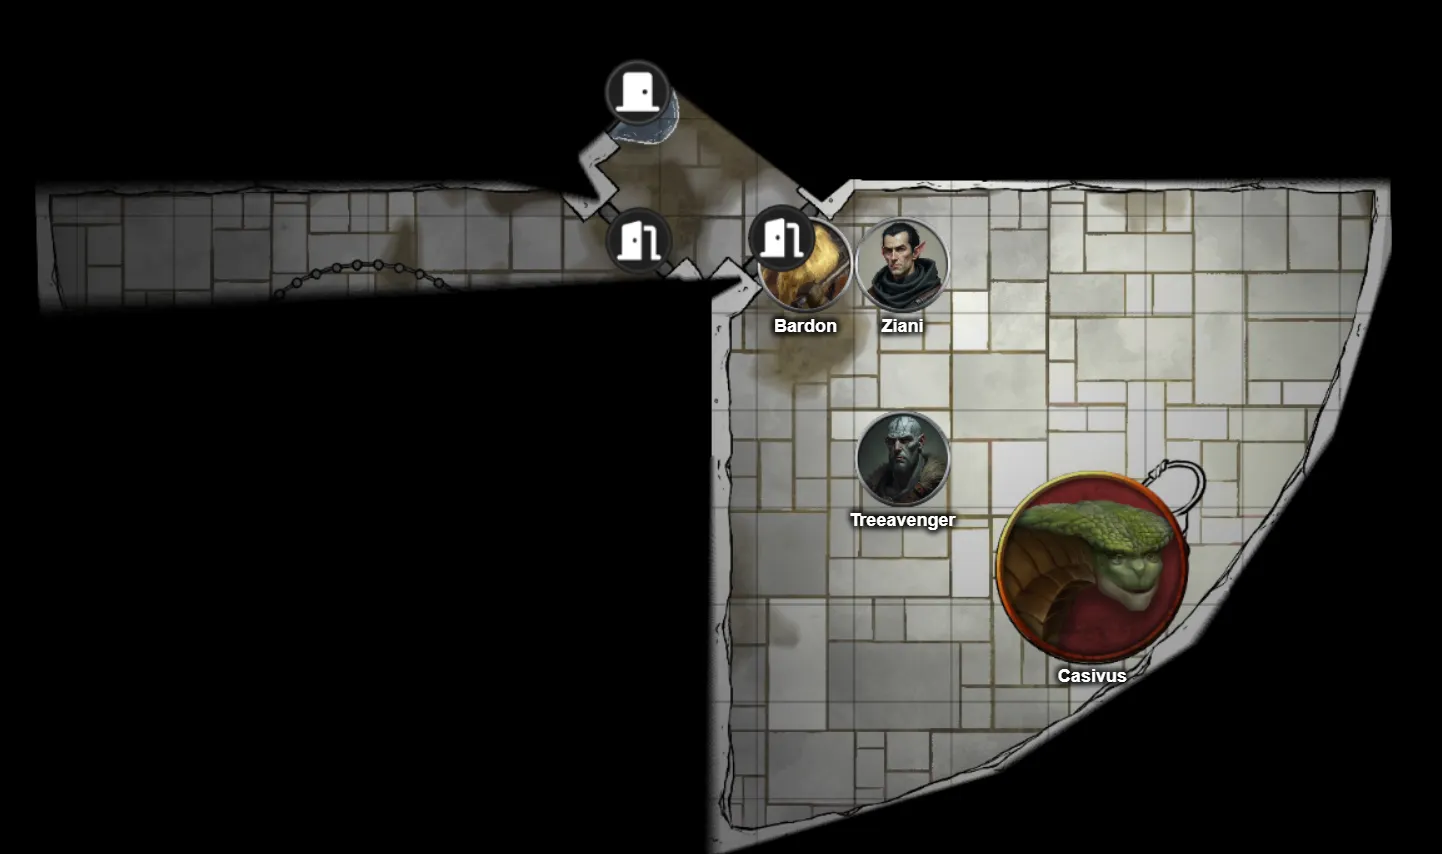
It warns us the flooded hall leads to a foul smelling mold, likely where we found the heat absorbing mold before.
We head back up, towards the top of the white tower, to check is anything else needs to be killed before we try to take on the Teremini.
Nothing at the top of the white tower, luckily.
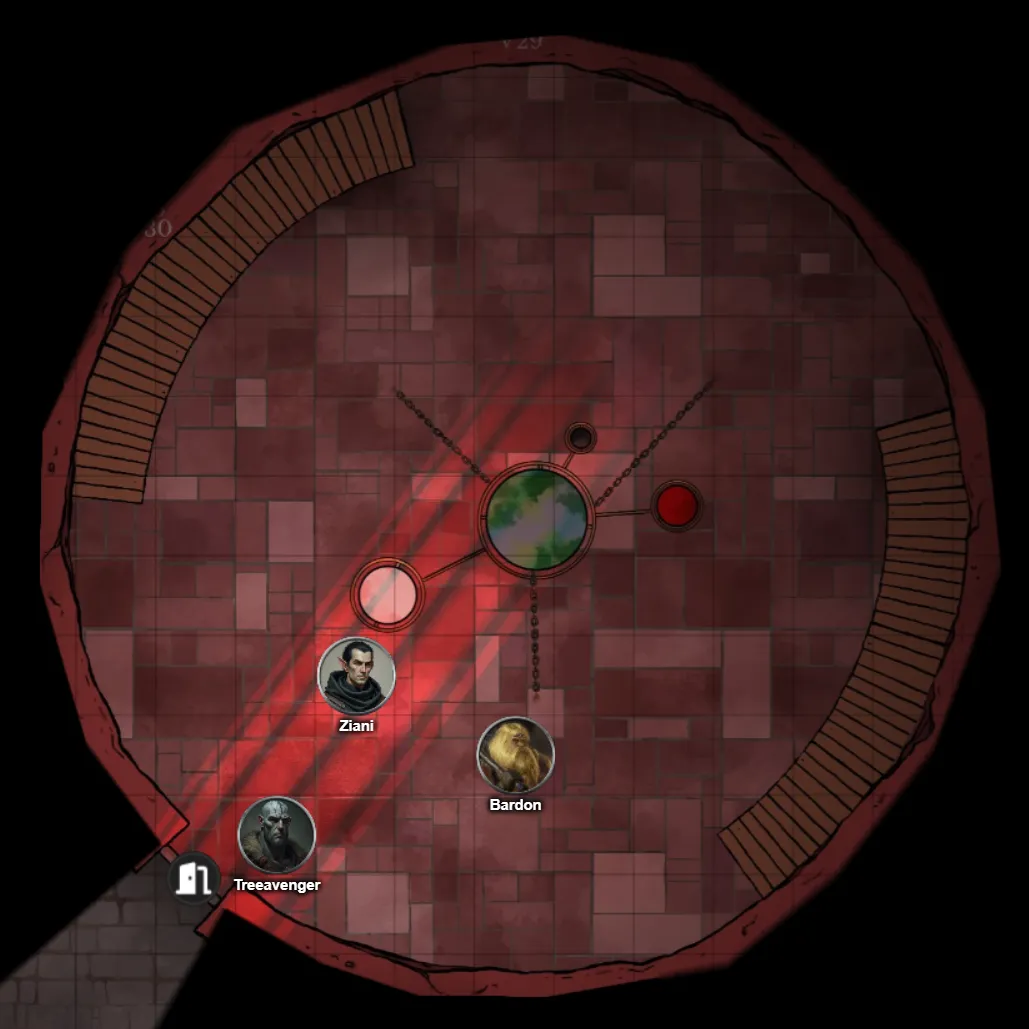
We head back to the Orrery Shine onto each crystal: Red → White White → Black Black → Red
Based on this deduction, the character understands that Teremini’s ritual can be disrupted by shining red moonlight on the white crystal, white moonlight on the black crystal, and black moonlight on the red crystal.
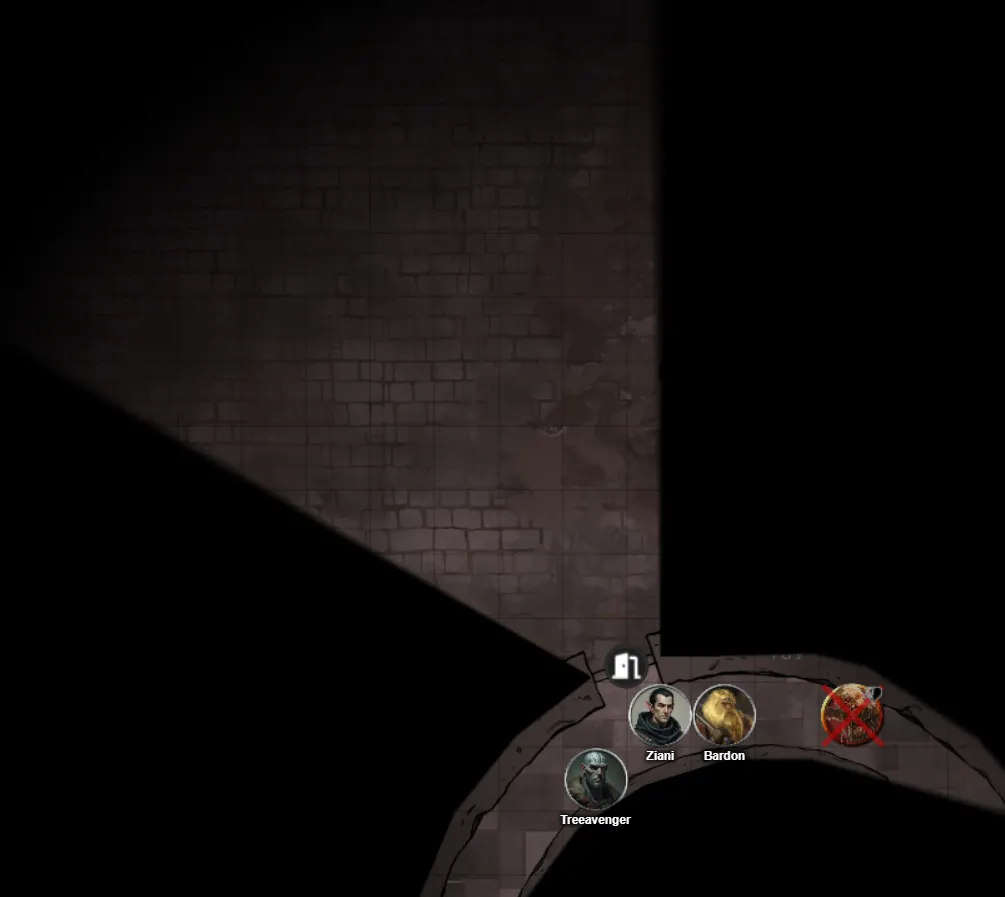
We head up to test shining the white light at the red crystal. It seems to take it out permanently, though Teremini takes notice.
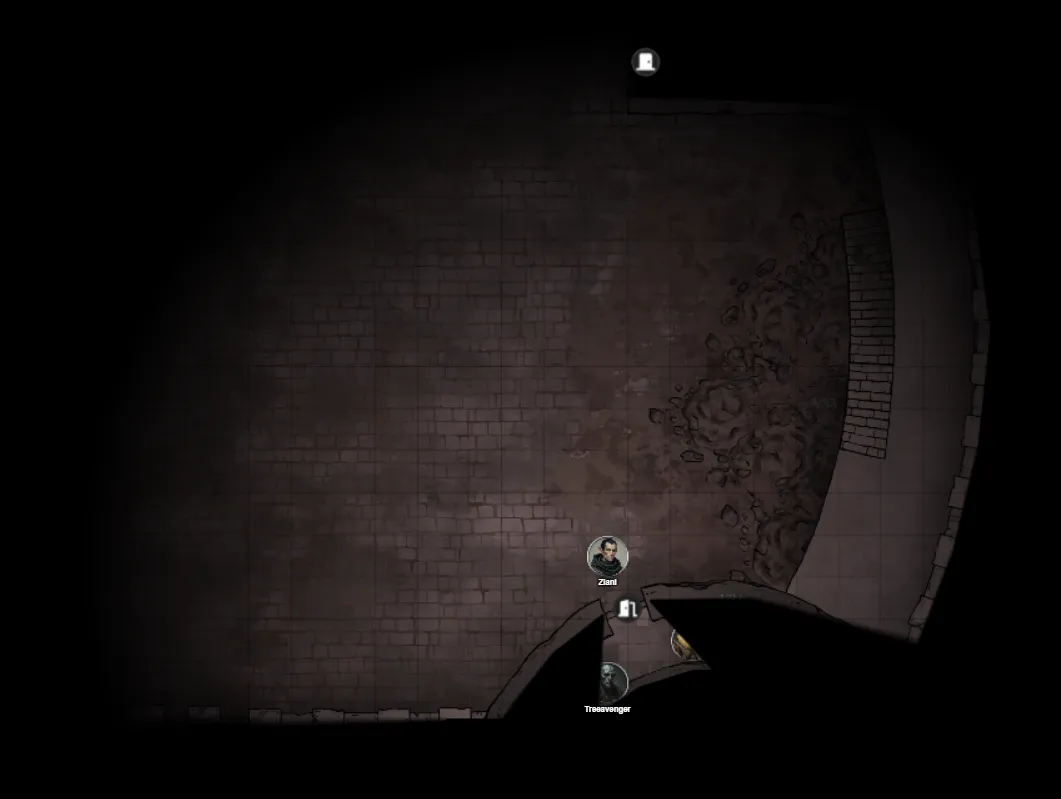
We sneak around towards the laddered area where some guards are patrolling.
We easily make our way up and find 2 more priests at the top.
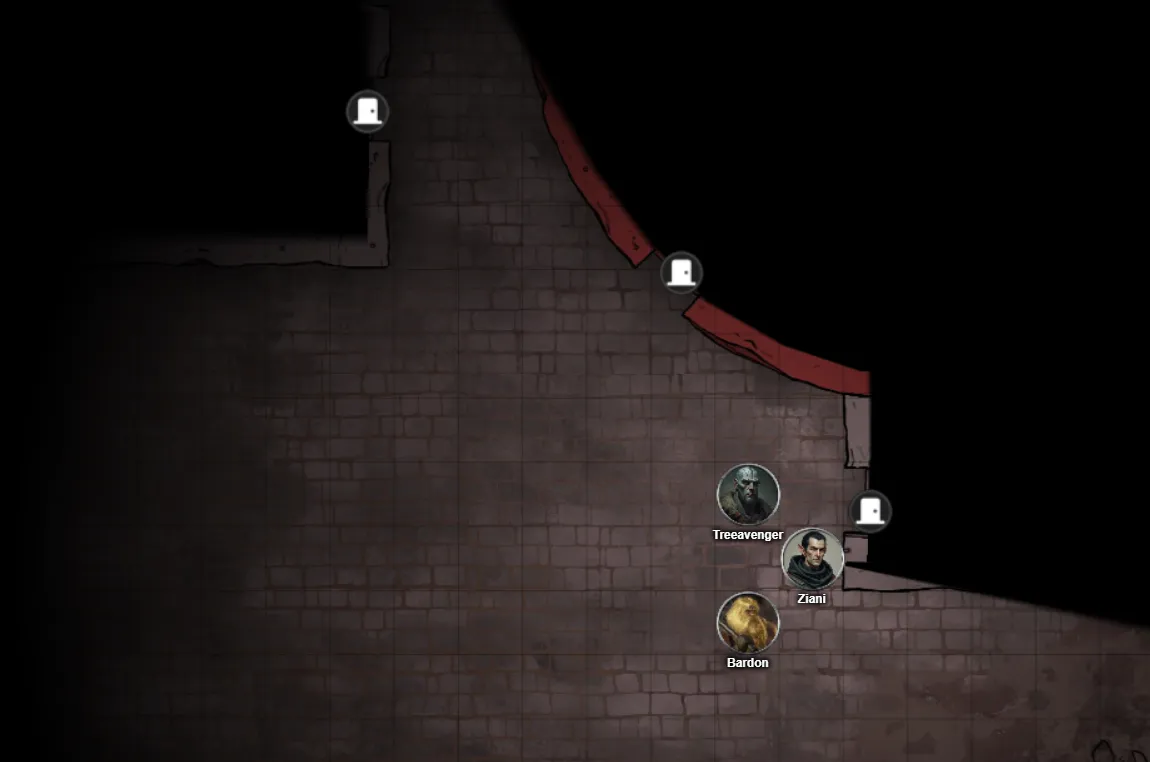
Easily taking them out and then shining the white light on the black crystal.
Then we easily head towards the white tower and dispel the last light
Hilariously, the solid moonlight all fades, and Teremini falls 100 feet to the courtyard below, with the Rod of Seven Parts piece along with her.
We head down after her. The birds seem preoccupied… for now.
We head towards her and strike at her. And then…
Lord Soth Arrives.
Teremini falls as Death Knight Lord Soth casts Power Word Kill on her. I take the Rod of Seven Parts (Fifth Piece)
Treeavenger is quickly struck down. I can’t do anything to help him for now. I try to strike at Death Knight Lord Soth but can’t do much to him.
Darrett Highwater appears from across the drawbridge and plans to take on Death Knight Lord Soth. He calls for us to run, but how could we leave him to face off against such a fearsome foe?
Death Knight Lord Soth heads towards Darrett Highwater, who continues to tell us to flee.

I try to strike Death Knight Lord Soth but find it hard to hit the mark. We may not be Darrett’s equal and may need to flee. Treeavenger and Bardon both go down in the wake of Soth’s power.
I revive Treeavenger who revives Bardon and then uses Rod of Seven Parts (Third Piece)‘s Reverse Gravity to send Lord Soth 100ft into the air. Freeing all 4 of us to escape.
Darrett Highwater advises us to leave the way we came, and we do.
I pass the Rod of Seven Parts (Fifth Piece) to Treeavenger.
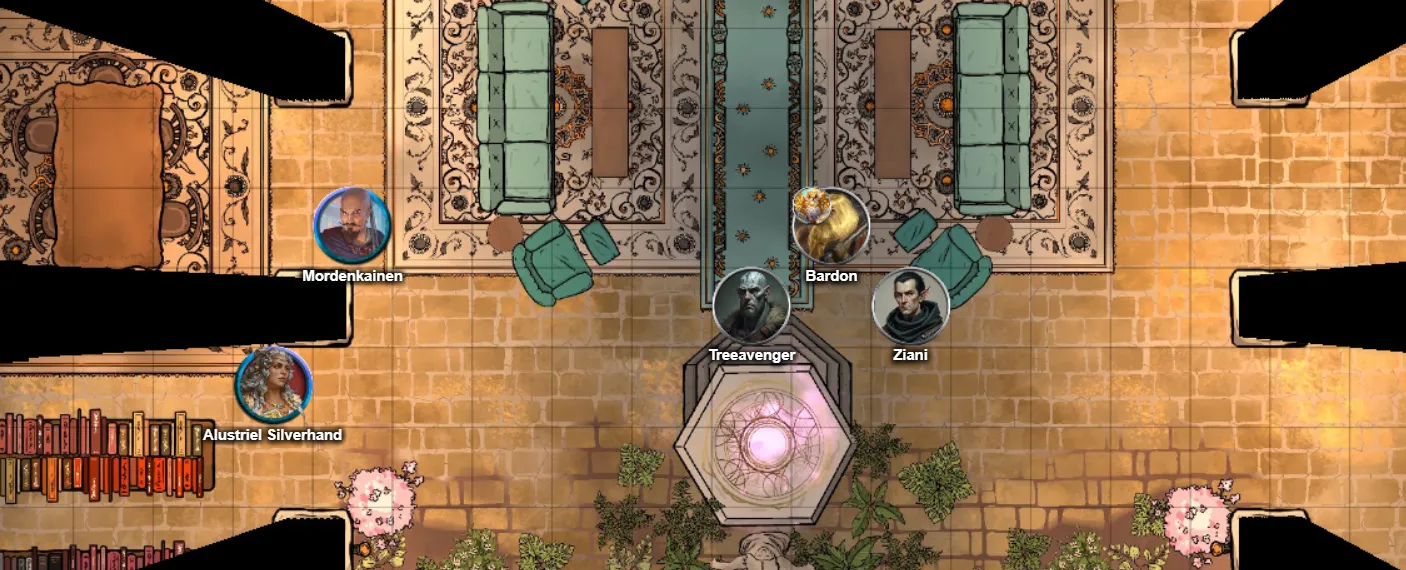
We meet up with Valendar and Riffel to let them know what happened before parting ways and heading back to the portal.

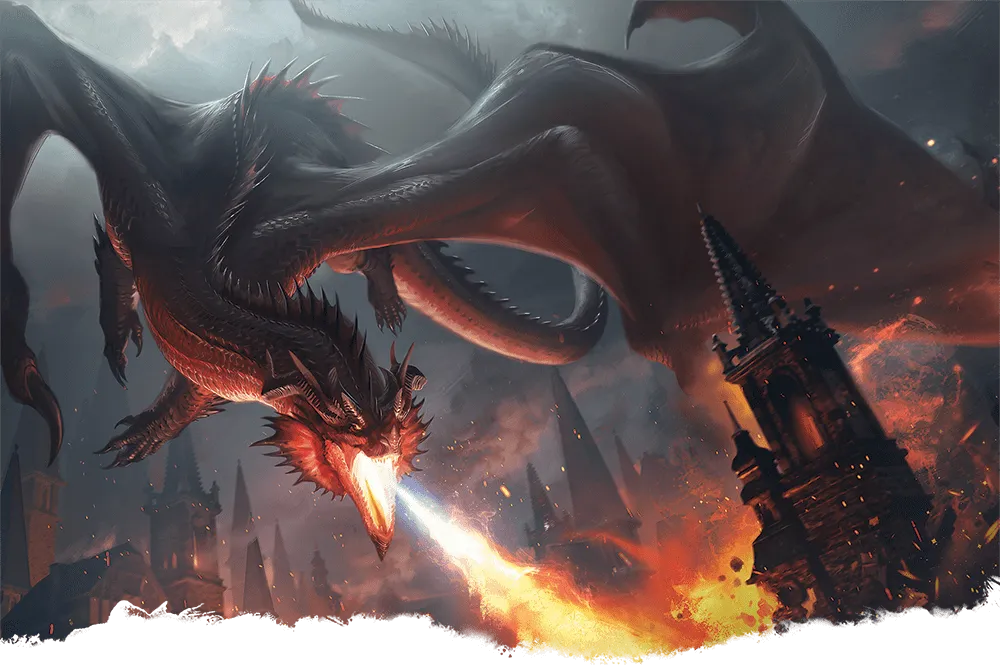
They mention letting Takhisis know before a Red Dragon appears.
Treeavenger grabs us and teleports us through the portal. Quickly calling to close the portal as we pass through.
Level to 16
Recite
END SESSION