Pash disappears. Again.
We at least made it across the darkened room.
This corridor ends at a massive double door with a carved relief depicting a river of screaming souls flowing through a ravaged landscape. Instead of handles, the doors bear a trio of concentric, rune-carved platinum circles that can be rotated. At the circles’ center is an engraving of a leering skull.
It contains the Draconic alphabet written on it. Treeavenger remembering the journal from the other room, we try pressing “Die” on the alphabet. The door opens.
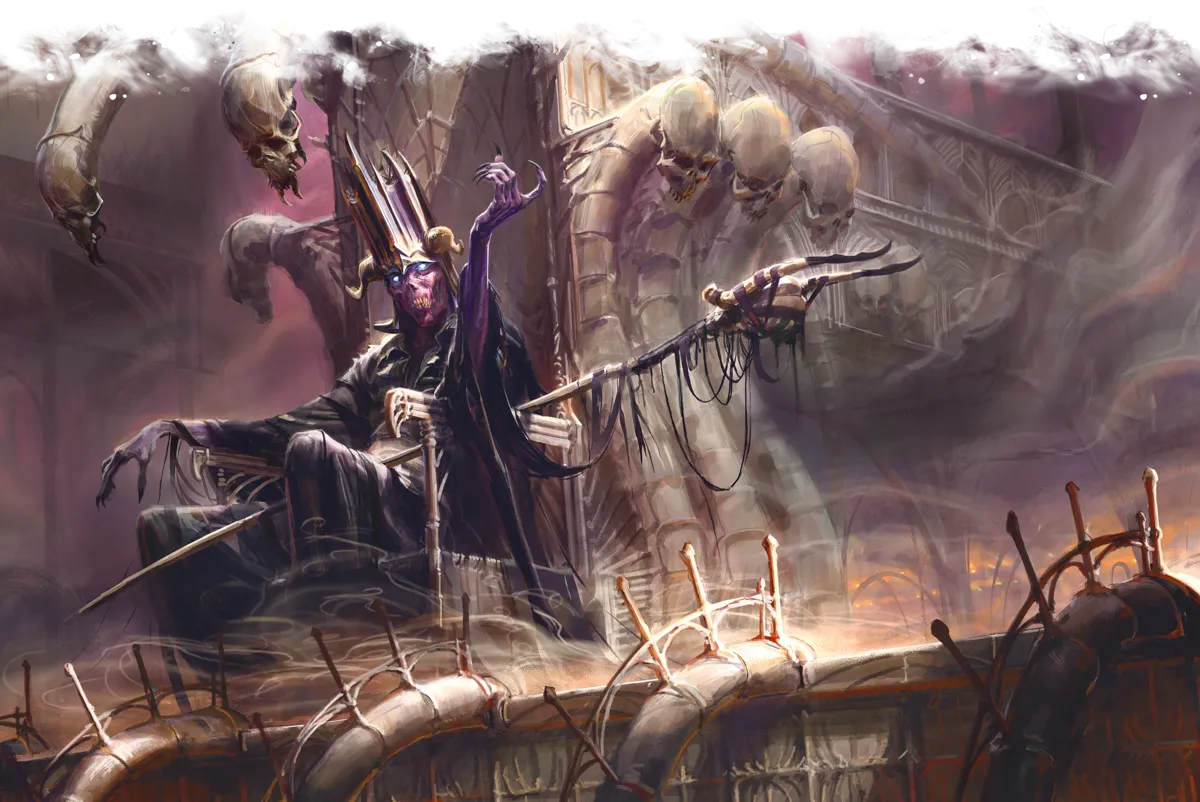
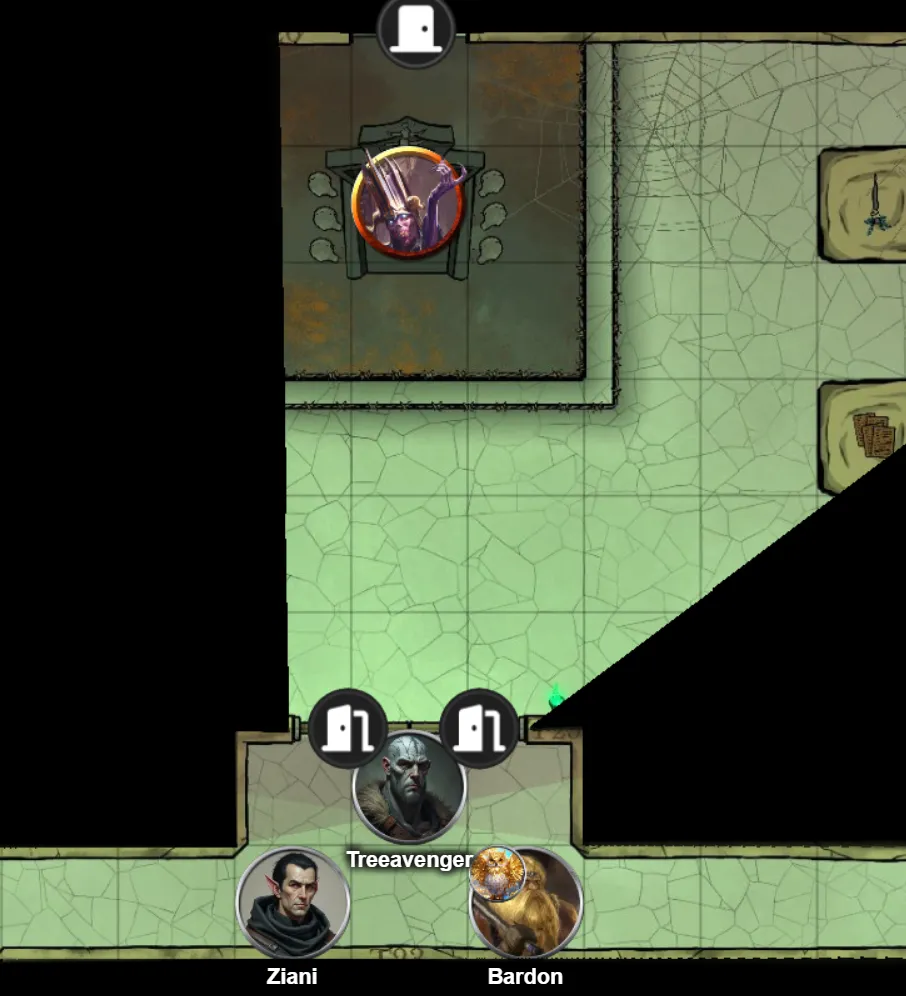
The room seems to contain duplicates of the ritual items we were sent here for, along with the missing ones?
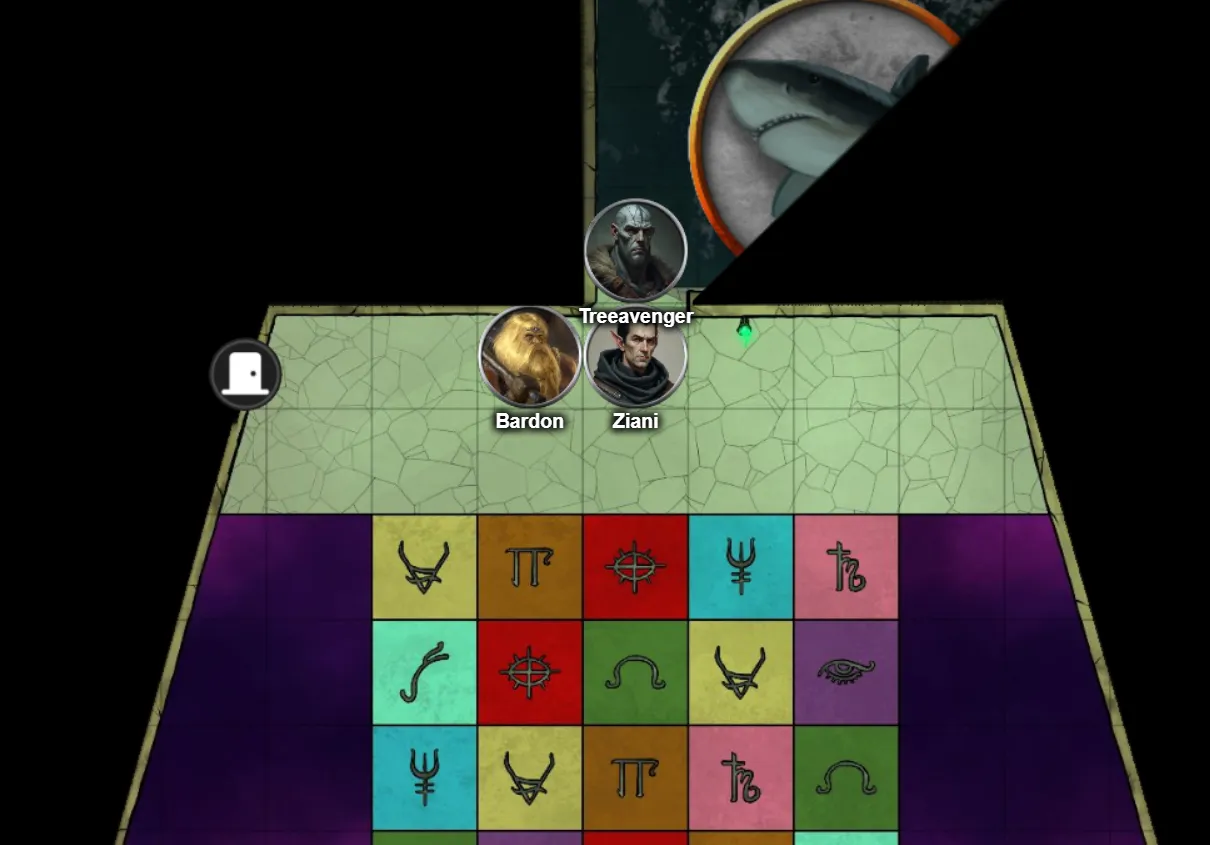
Treeavenger and Bardon enter the room.
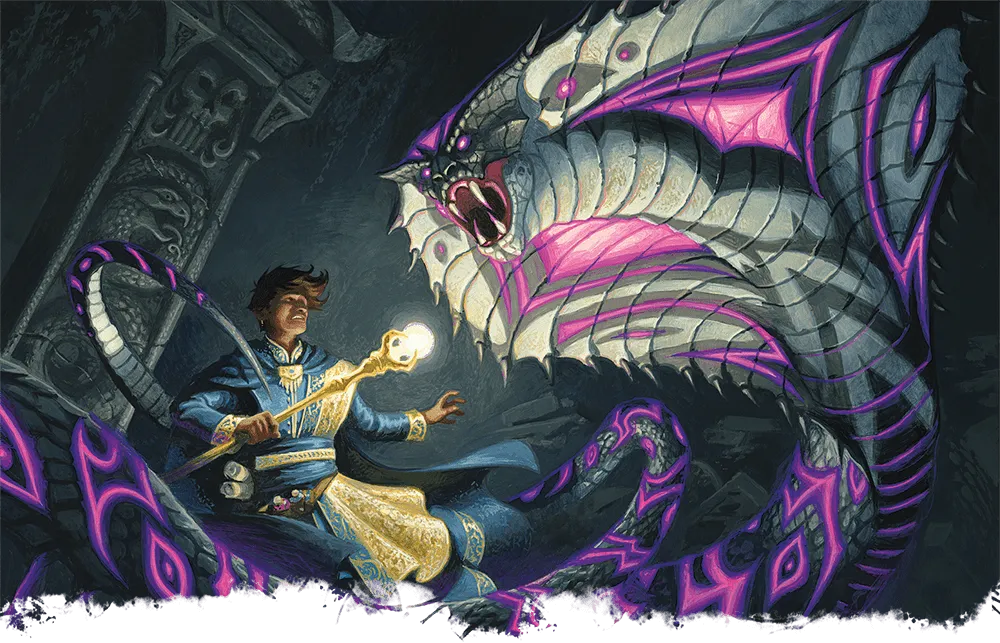
It speaks: “Flee or Die.”
I am immediately knocked unconscious.
After a moment, I come back to. Treeavenger was also knocked out.
Bardon drags Treeavenger out and the creature returns to the throne, snaps it’s fingers and the doors shut.
Perhaps we should return later…
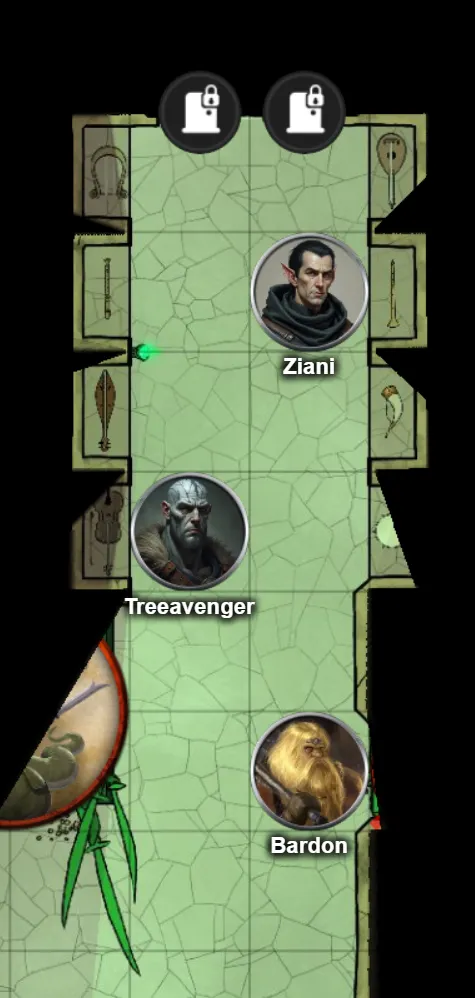
We head further around the corner and Treeavenger finds a “damp” room. They enter it and seem panicked for some reason?
Upon entering, the room fades away into an ocean with no discernable exits. I swim in the direction of Treeavenger and Bardon, but don’t find a way out.
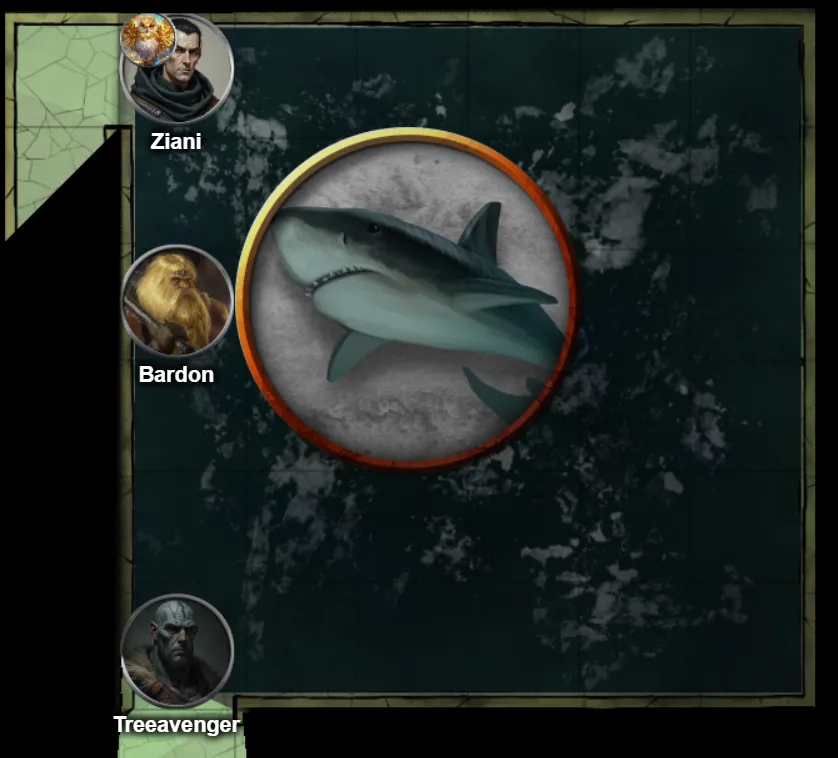

I use the Lantern of Revealing to reveal the illusion and find the exit. Additionally revealing a secret door on my left.
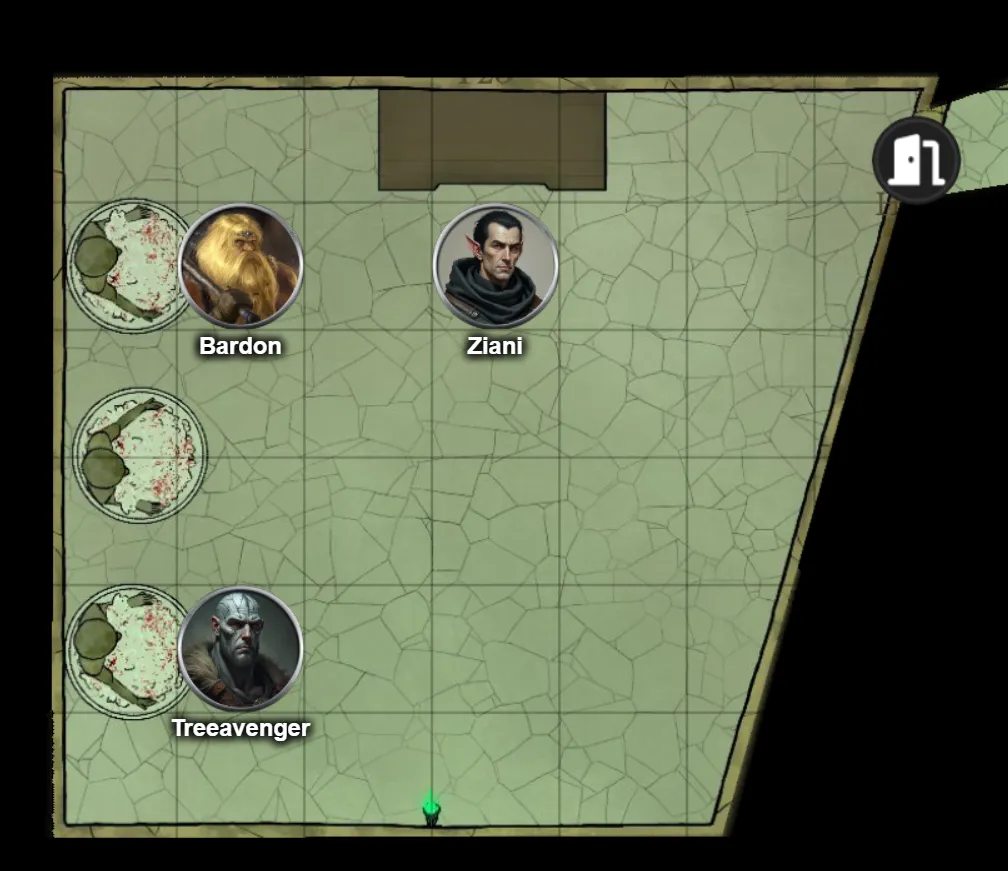
I check the revealed door and find 3 cylinders containing decaying corpses covered in snow and a desk against a call.

Bardon notices that the red powder is powdered rubies. With the snow, make for Simulacrum ingredients.
With the help Pash’s ghostly whisper, we realize the desk has a false bottom. Trapped as well, and Bardon dispels it for me.
Inside we find:
- A rose quartz crystal ball
- A stack of notes written in common
The Crystall Ball being a Crystal Ball of Mind Reading and one of the artifacts we are looking for.
We are still missing the sash, scimitar, and wand.
The notes speak about Acererak’s endeavors to create empowered simulacra of himself to guard his tombs. Acererak speaks of his simulacra with disdain, viewing them as tools. He finds the fact that his simulacra can develop sentience a sadistic joke.
Perhaps the creature we found before was one of them?
Using the Lantern of Revealing we see “The vortex eats all magic, save for that from which it was born.” written along the edges of the room.
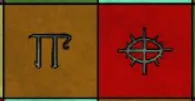
We determine the vortex is an evocated transmutation spell. With Bardon’s help we manage to safely cross by stepping on only the tiles of those types.
We head back the way we came to finish exploring the previous area.
We take the bottom right corridor this time. The Lantern of Revealing showing a hidden door.

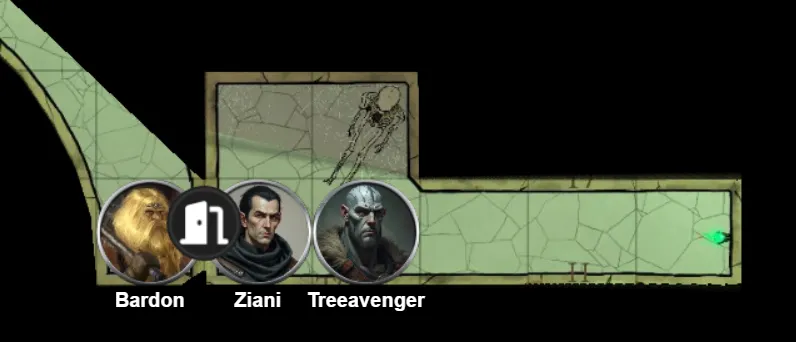
Treeavenger shows interest in a necklace on the skeleton. Bardon does not detect any curse on it, but does detect strong necromancy magic.
Treeavenger goes to grab it, and it explodes with necrotic energy. Nearly taking out the two of them. Treeavenger throws the whole skeleton, necklace and all, into the Bag of Holding.
I check the door carefully as we are in some dire straights.
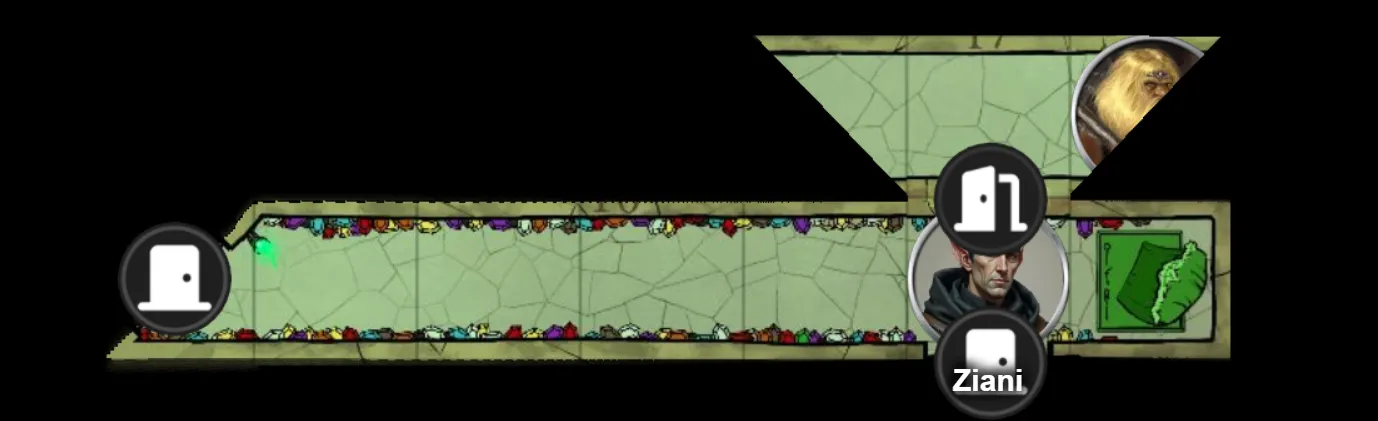
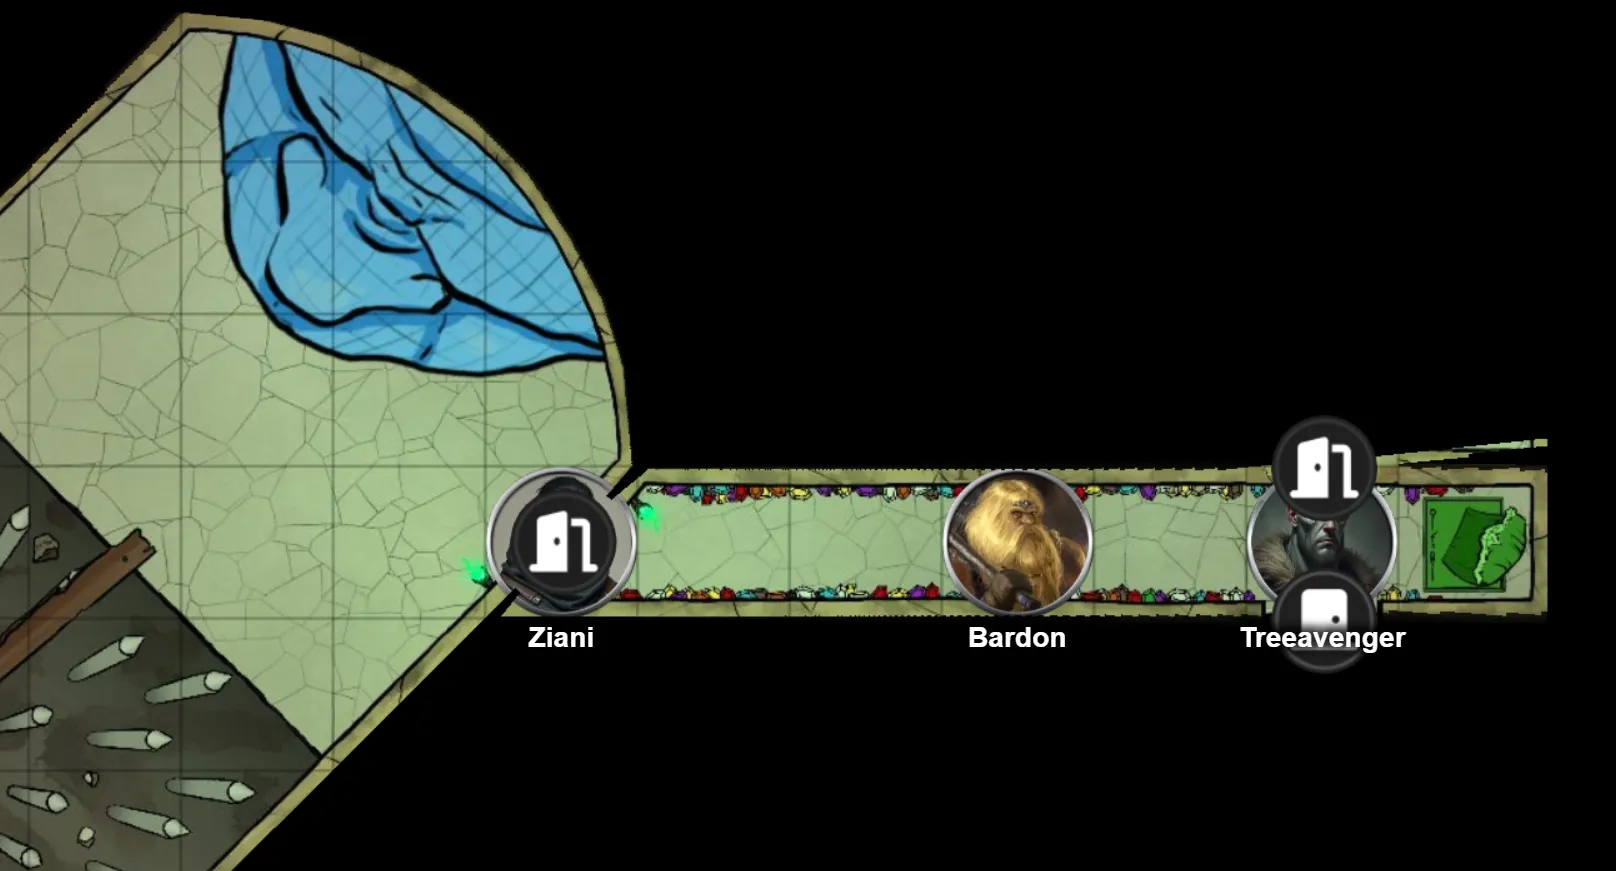
Rows of colorful jewels line this corridor’s walls. At the east end stands an emerald-colored statue of a crashing wave, the words “This wave is green” carved into its base. A door is set in the corridor’s south wall.
We take a short rest around the hall.
Recite
Break Time
It turns out this leads back out to where the large blue carved face and entrance of the ruin.
I try putting a green gem into the slot at the base of the emerald… and a cold wave strikes at us.
After taking some time and insight, I realize most of the gems are fakes and find the real emerald from within the bunch, opening the door south.
Big pit. 3 foot wide bridge. Alternating blasts of air from both sides.
Very hard to keep your footing. I fall into the acid.
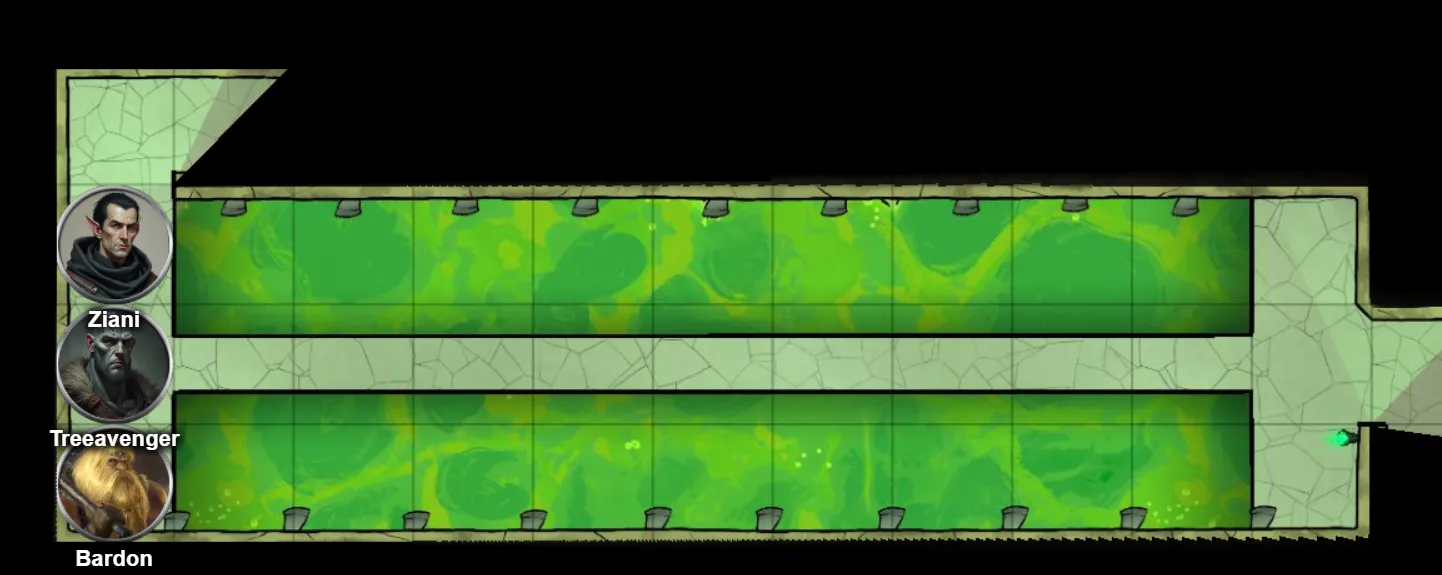
After much deliberation, our Barbarian Wizard, Treeavenger, uses Arcane Gate from the Rod of Seven Parts (Second Piece).
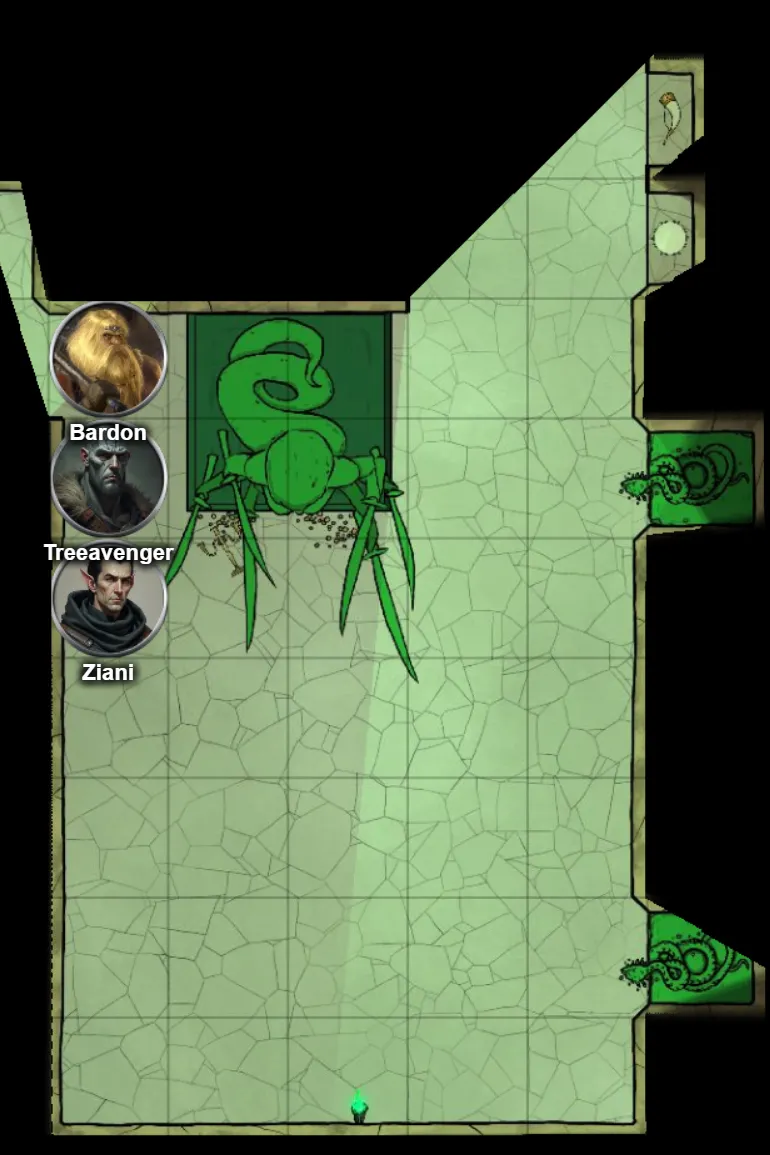
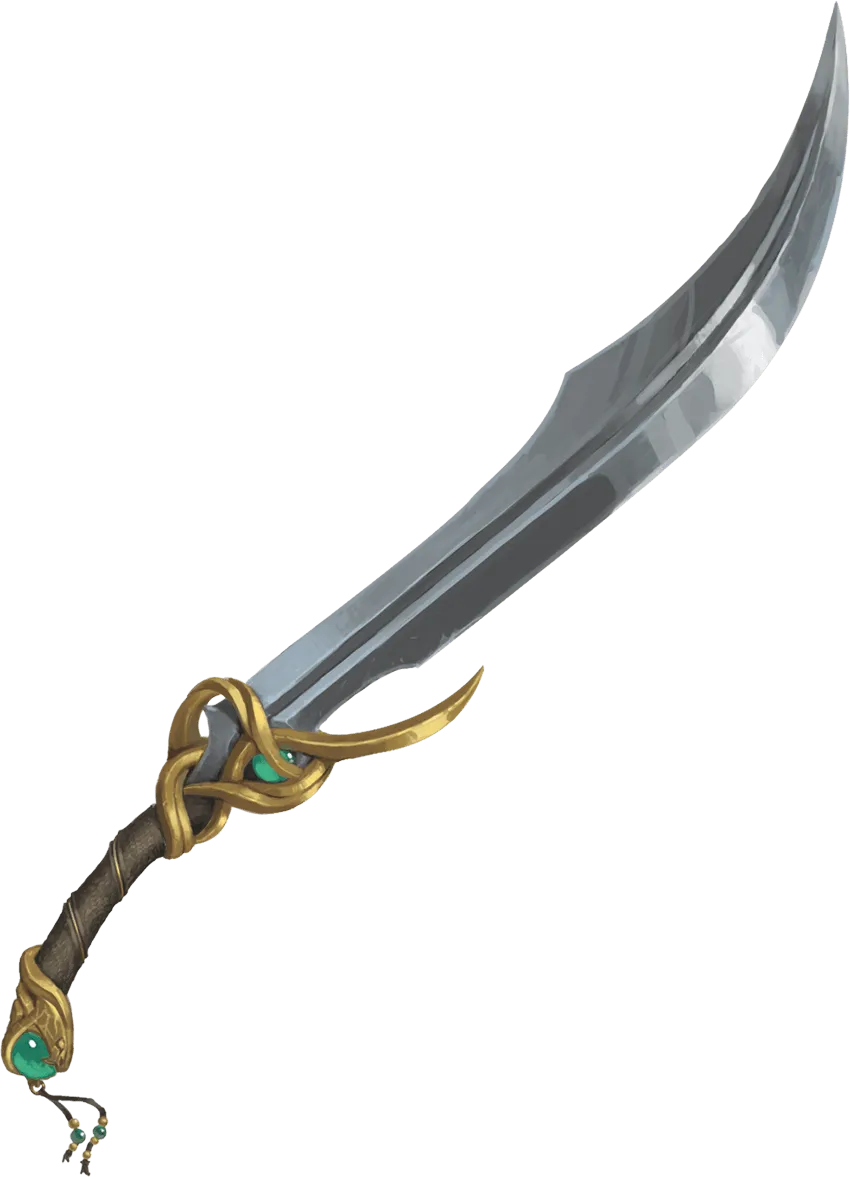
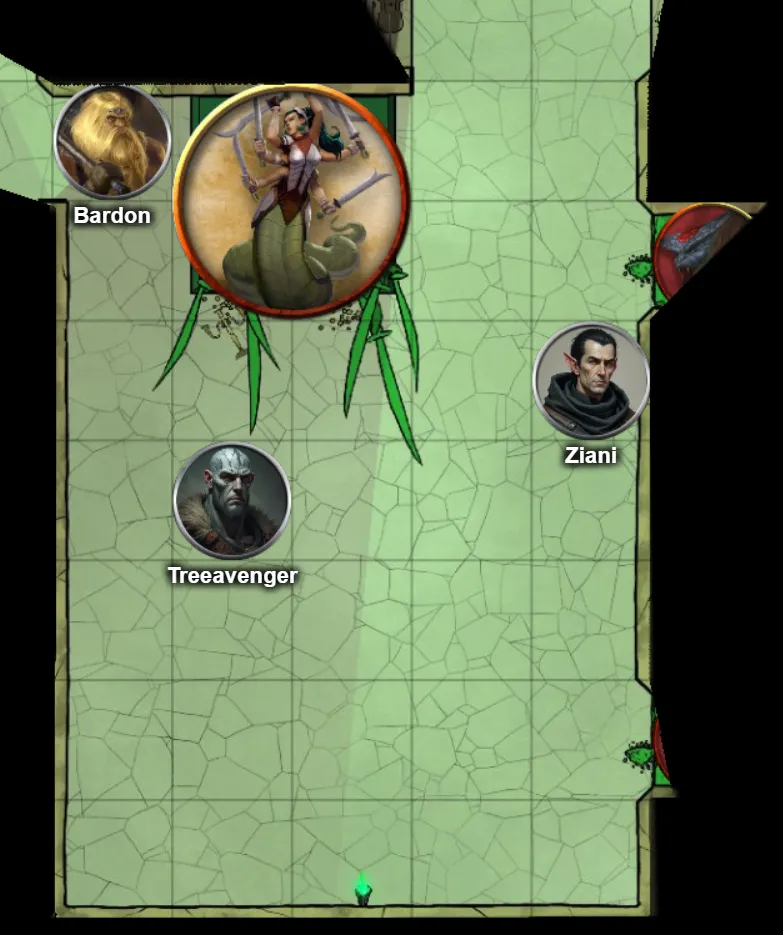
We find ourselves in a room with a 6 armed serpentine figure, each holding a sword, one different from the rest. The one seems to be different from the rest, and likely one of the relics we are looking for.
We enter the room and the statue comes alive, along with the two snake figures in the corners.
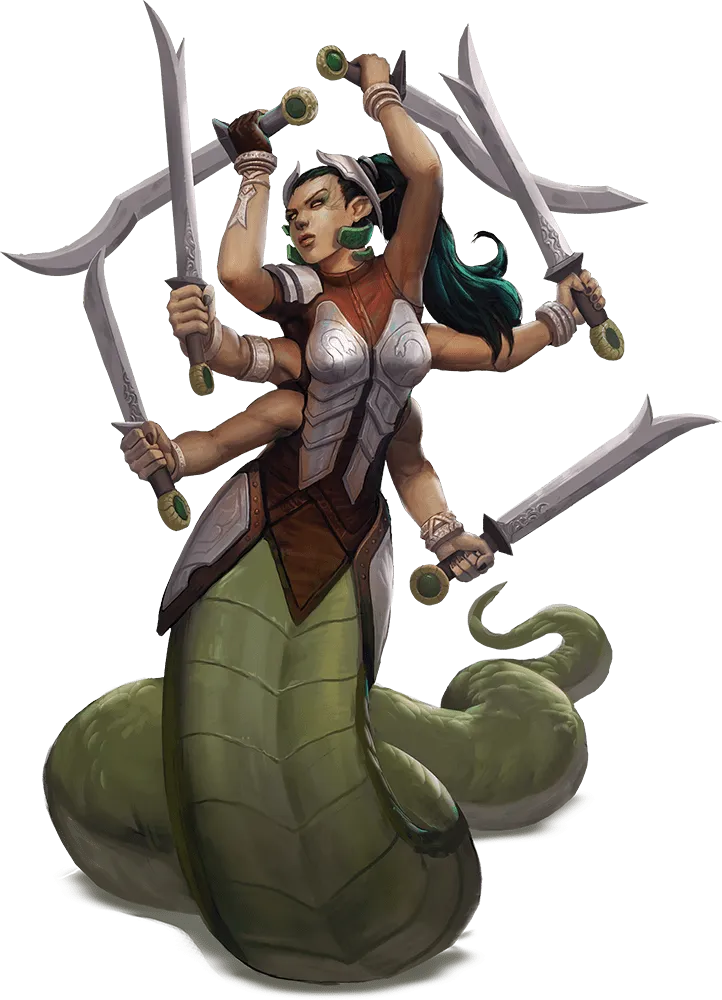
With a great bit of restraint and effort, we manage to convince her that we are here to help. Though Treeavenger is downed in the effort.
She mentions the Simulacrum we assumed we ran into was named Rerak. A creature of Acererak.
She willingly parts with the artifact we were looking for (that acts as a Sword of Sharpness).
As we enter the hall by her, we see many instruments. They all start to play as we enter the hall, and they cause some discordant harm.
Eight niches are built into these walls. Each niche contains a musical instrument: a lute, a lyre, a viol, a flute, a drum, a dulcimer, a shawm, and a horn. At the end of the hallway is a double door emblazoned with two theater masks—one elated and one despairing.
We notice that the doors have carved into the base:
Pay the toll, in blood or in song.
I try to play an instrument, failing massively.
Treeavenger and I put are arms in the mouths of each face. We bleed and I find my agility drained slightly.
It does indeed lead back to the library we were in before. We head back to the octagonal room.
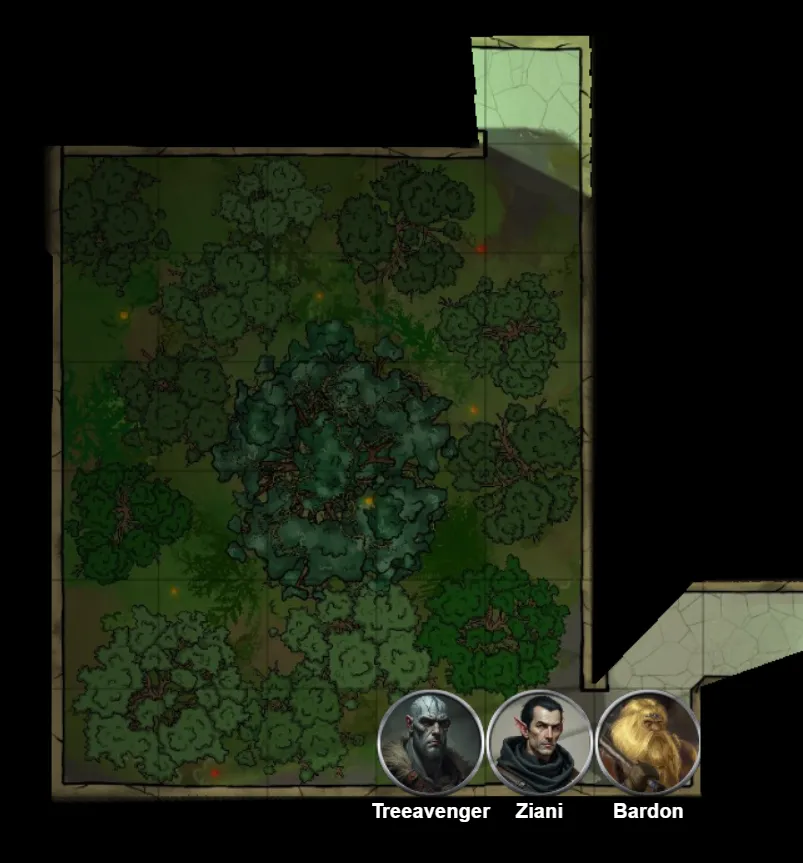
We head through the North West door. Treeavenger finds a large Ent.
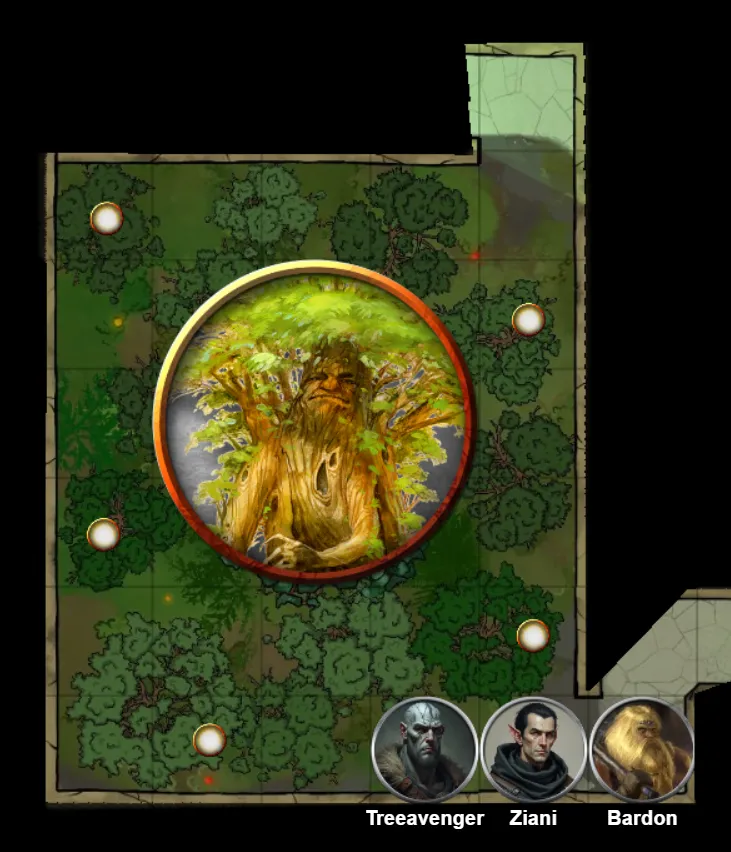
Bobbing wisps in the room whisper:
The master of this tomb longs to be free. Wouldn’t you, if you were he?
another mentions that the room ahead is definitely the room that crushed Treeavenger before. Indirectly, of course.
Bardon casts Remove Curse on the Ent. Though, it reveals that the Ent had long since decayed.
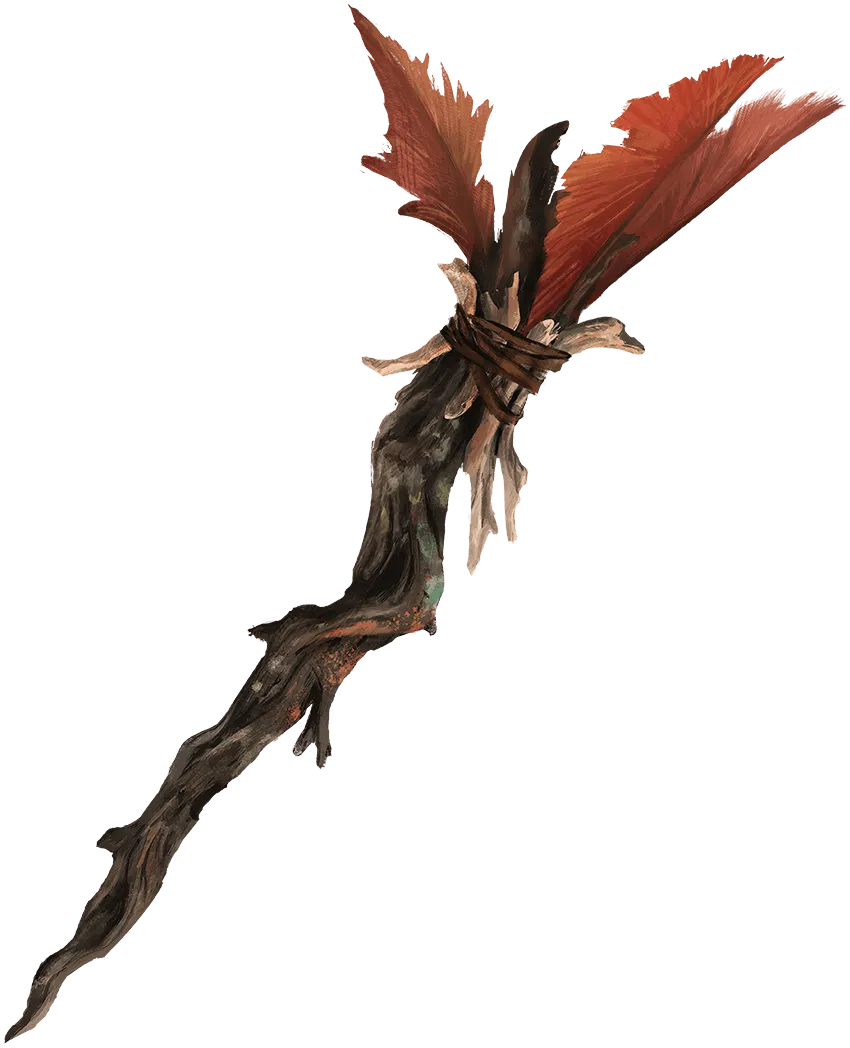
It leaves behind the bone wand artifact we were looking for.
We head back to the central chamber. Bardon tries the South door and after a few minutes finds himself back to us from where the Granite Juggernauts were. Trying the North Door, it takes Bardon a bit longer to return, but apparently took him to the entrance.
We deicide the West likely leads to the other Sphere room in the library and ignore it for now. And had back to the room with the 3 chests:
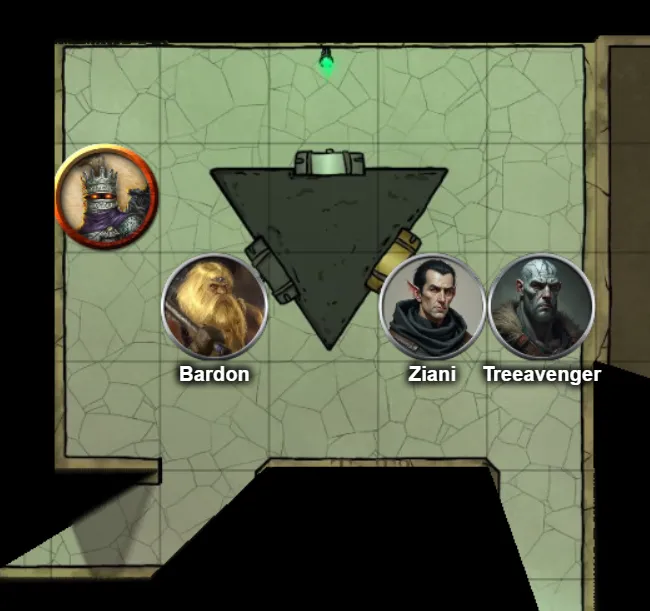
A dark, triangular altar stands in the center of this chamber. Carved into each side of the altar is a niche containing a chest. One chest is plated with gold, one is plated with silver, and the last is plated with lead.
Bardon takes the Scroll of Knock from the Lead chest. I open the Gold Chest, finding 100 gold, but leave it alone for now.
But a Death Knight appears by Bardon for taking from a chest.
I toss 200g into the Lead Chest and the Death Knight disappears. I take a potion to bring back Treeavenger who brings back Bardon with one of his own potions.
The last chest doesn’t have the Sash, so I quickly shut it without a care of the item within.
We back into the too-good-to-be-true room of the Fountain Room.
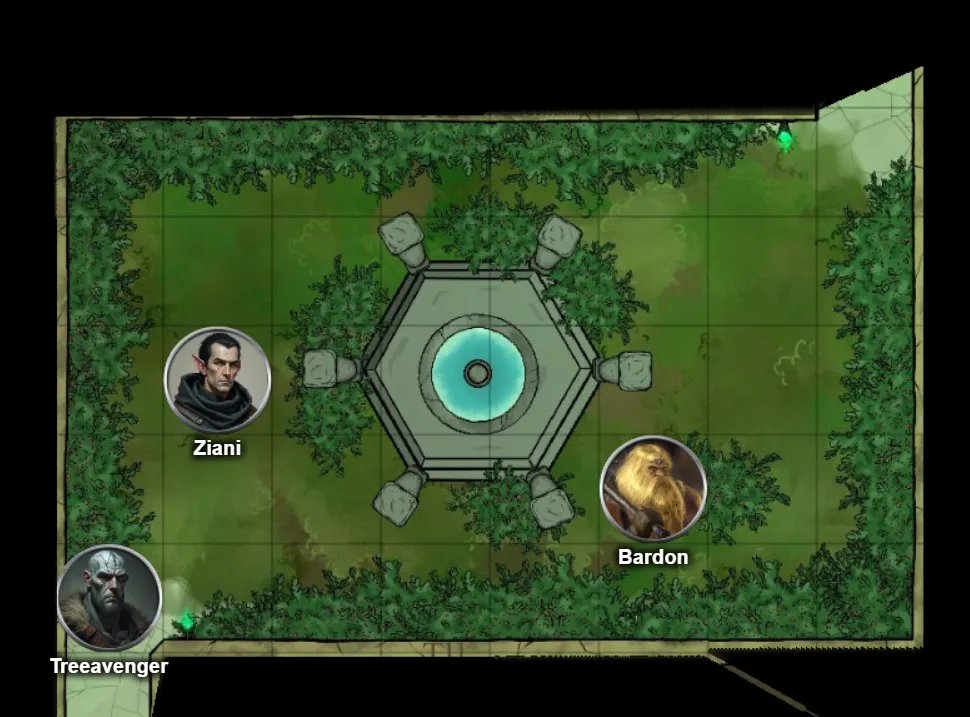
The only room that hasn’t tried to kill us.
We egg Bardon into looking into the well. Touching the water in the well. And then finally drinking from the well.
It healed him. Too good to be true? I drink from it. It heals me. Treeavenger drinks from it. It heals him.
Still seems too good to be true though.
We decide to take a long rest in the room anyway.
It seems to be safe for now.
Recite
END SESSION